Documentation Index
Fetch the complete documentation index at: https://docs.benchgen.com/llms.txt
Use this file to discover all available pages before exploring further.
How to Create an Agent
What Is an AgentAn Agent is a goal‑driven conversational assistant that can interpret a user request, pick the right Topic (job domain), run one or more Actions (tools / integrations), loop on results, and reply with a grounded, useful outcome. Clear agent definition improves reliability, reduces hallucinations, and accelerates iteration.Agents + Topics + Actions map like this:
- Agent = container (persona + collection of Topics)
- Topic = intent/job domain (Password Reset, Order Status…)
- Action = executable unit invoked within a Topic (LookupOrderStatus, ResetPassword)
For deeper conceptual detail see: What is an Agent
When to Use a Template vs Start from Scratch
| Choose | Use It When | Why | Trade‑Off |
|---|---|---|---|
| Template | Common pattern (teaching, support, FAQ) | Speed & consistent starter structure | Might include extra Topics to prune |
| Start from Scratch | Novel domain / experimental persona | Full clarity, no hidden defaults | More initial authoring time |
| Template then Customize | 70–90% match with minor tweaks | Fast + minimal edits | Risk of keeping irrelevant defaults |
Create Your Own Agent
-
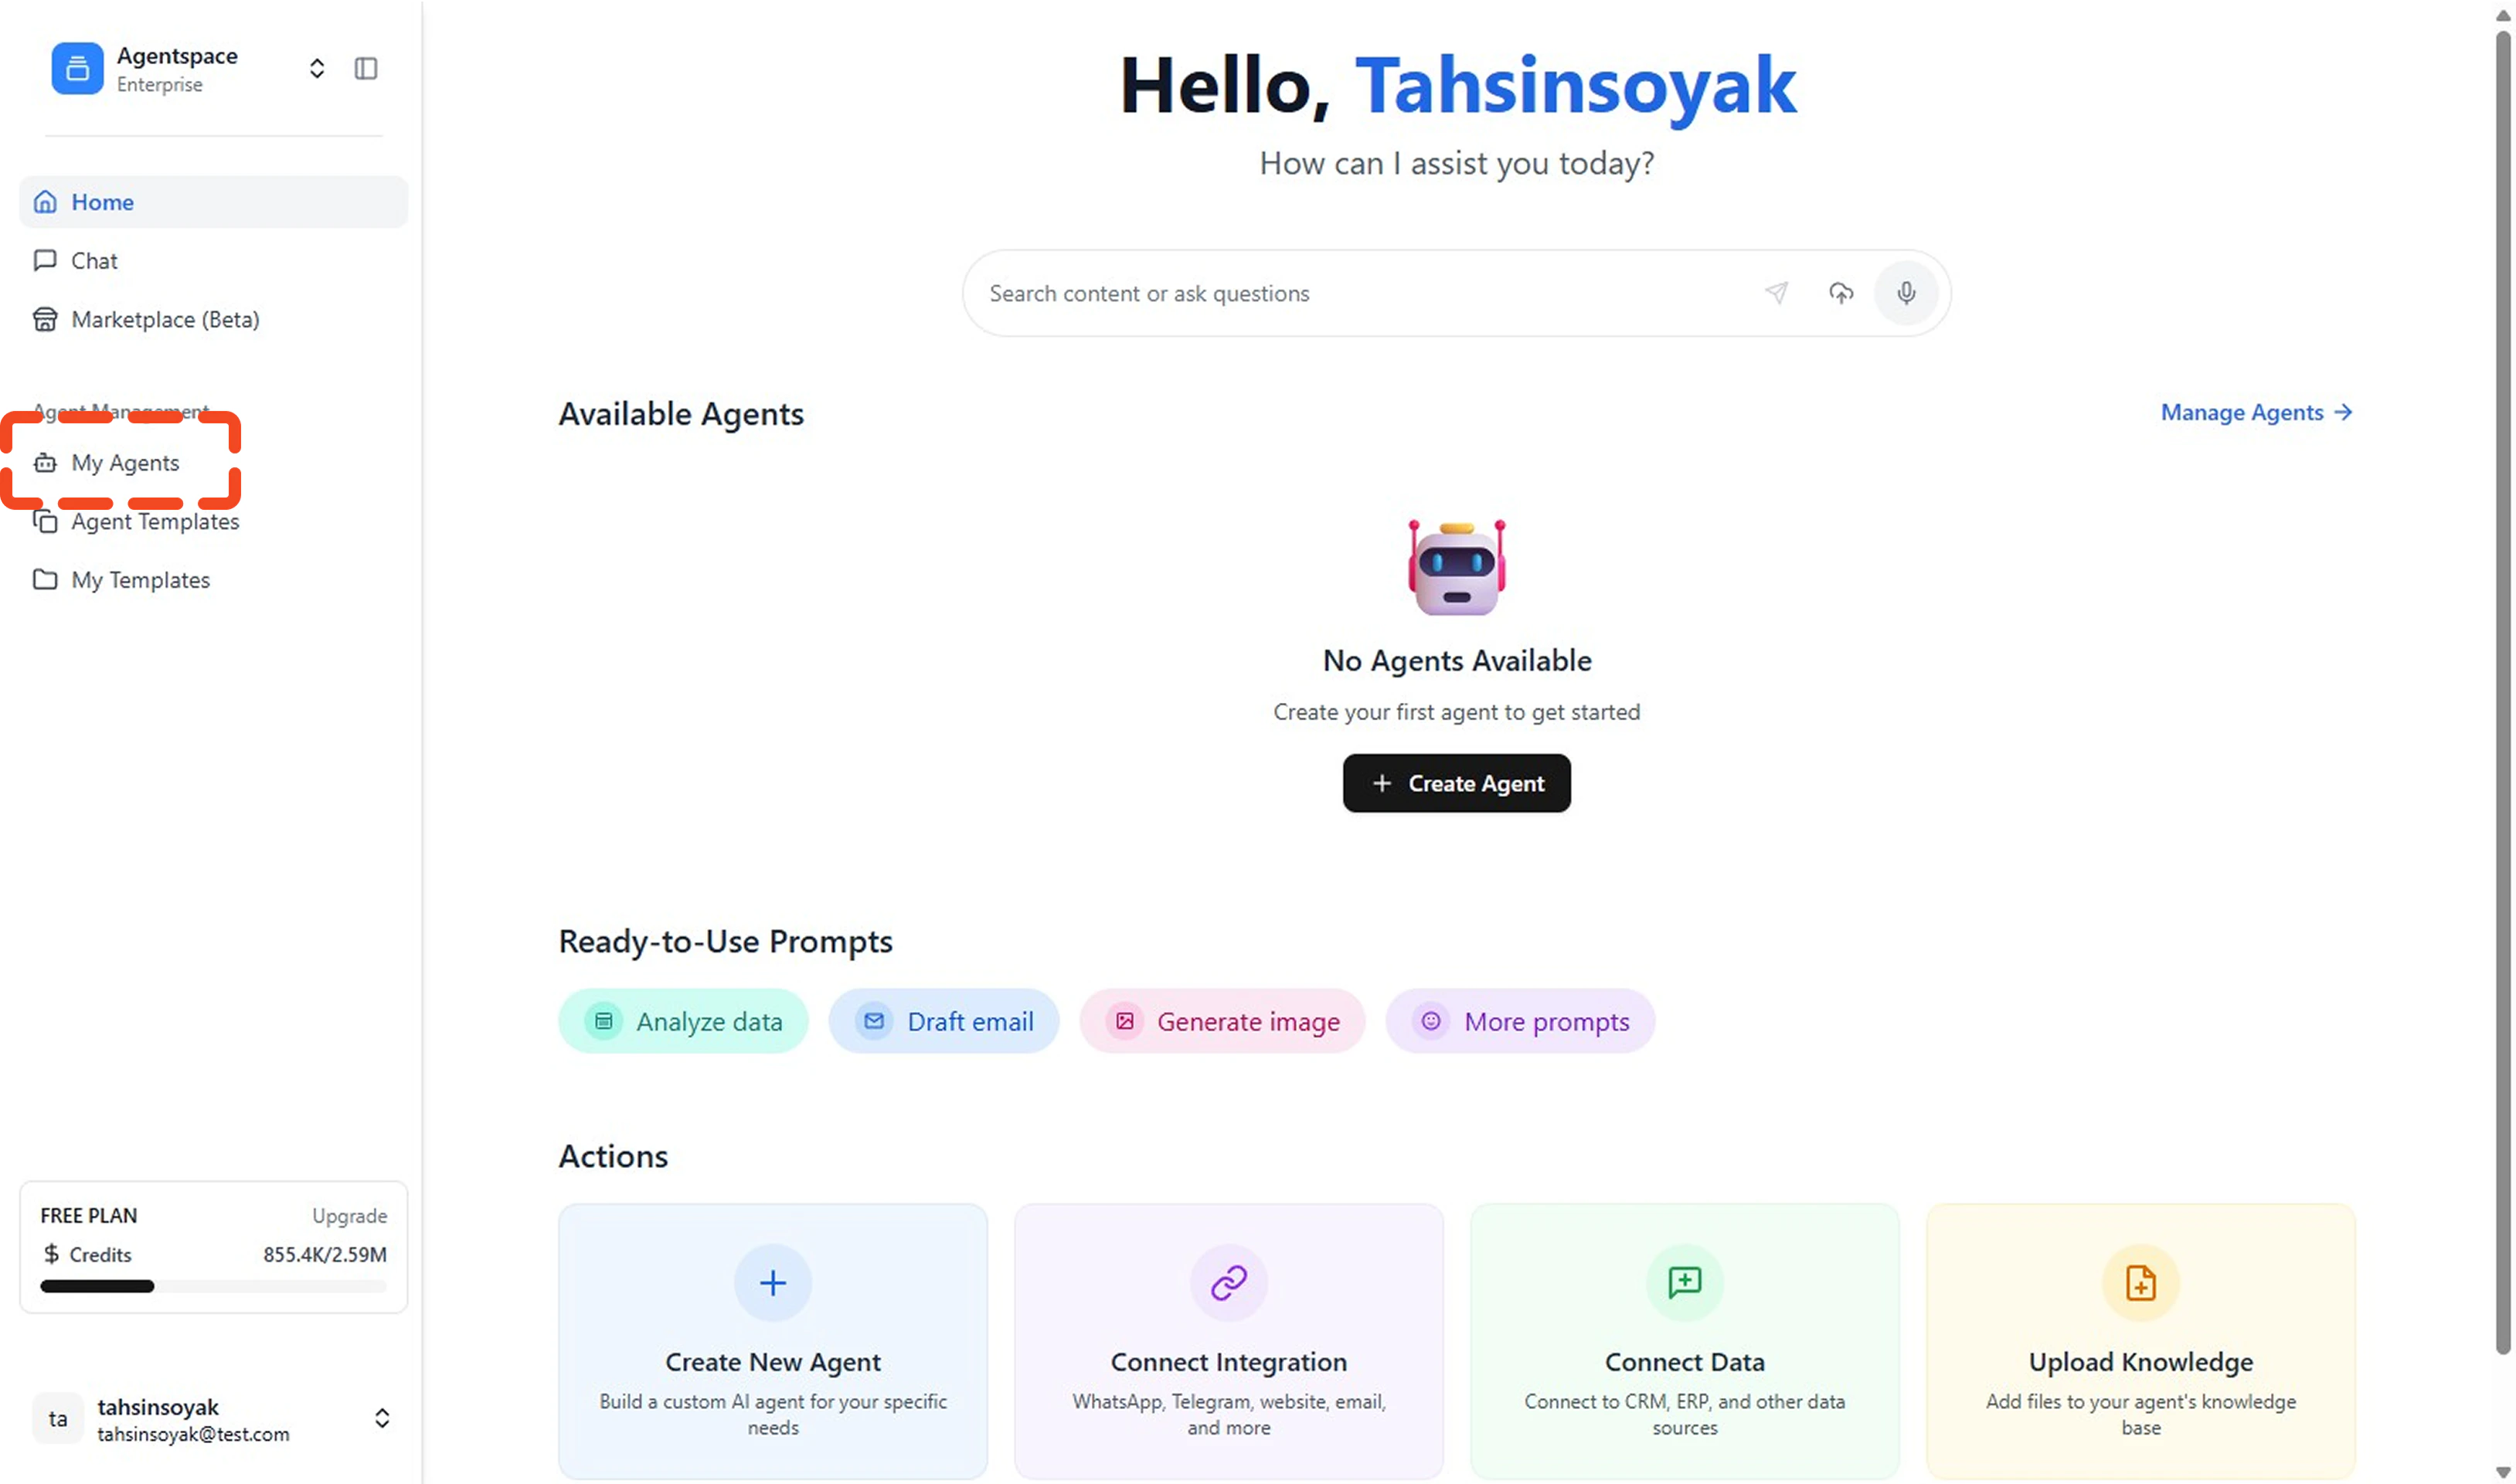
Open My Agents
Go to the left menu and click My Agents.
-
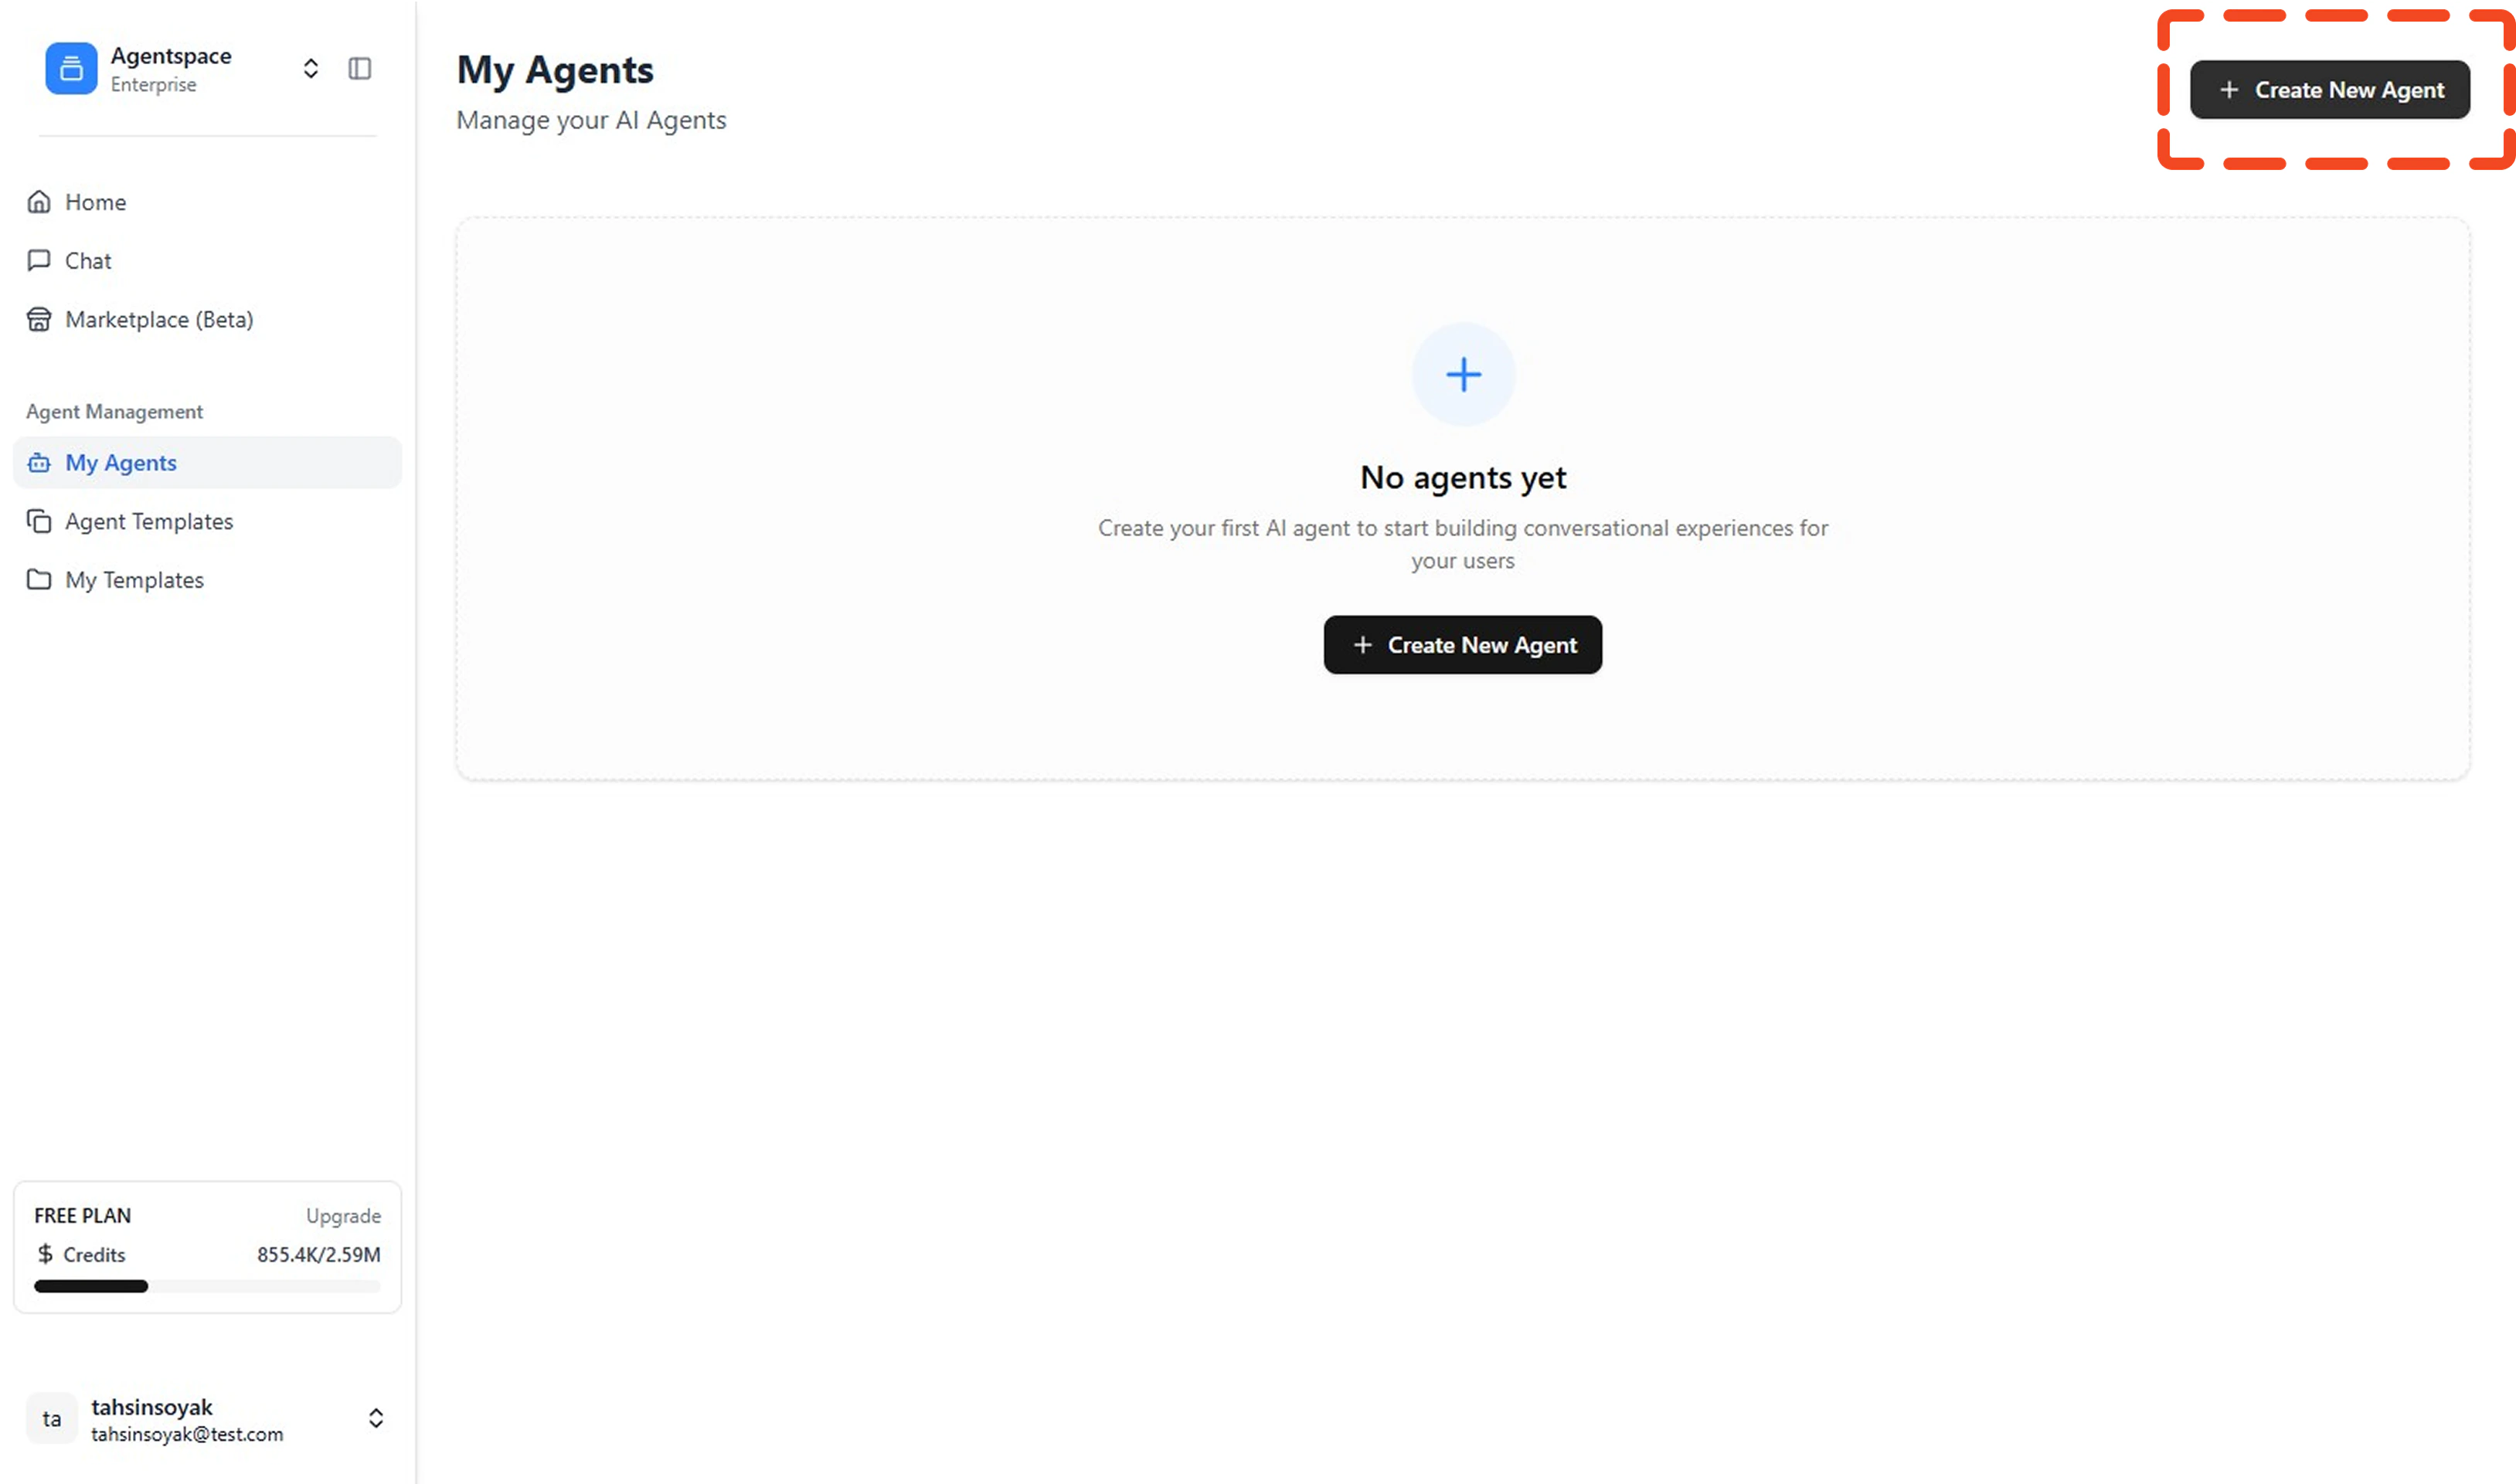
Click Create New Agent
Opens the creation panel.
-
Select Start from Scratch
Choose the scratch option.

-
Fill Agent Details and Create Agent
Provide: Name, Description (audience + outcome + differentiator). Keep name purposeful (avoid
TestAgent1). Click Create Agent to persist the agent once details are complete.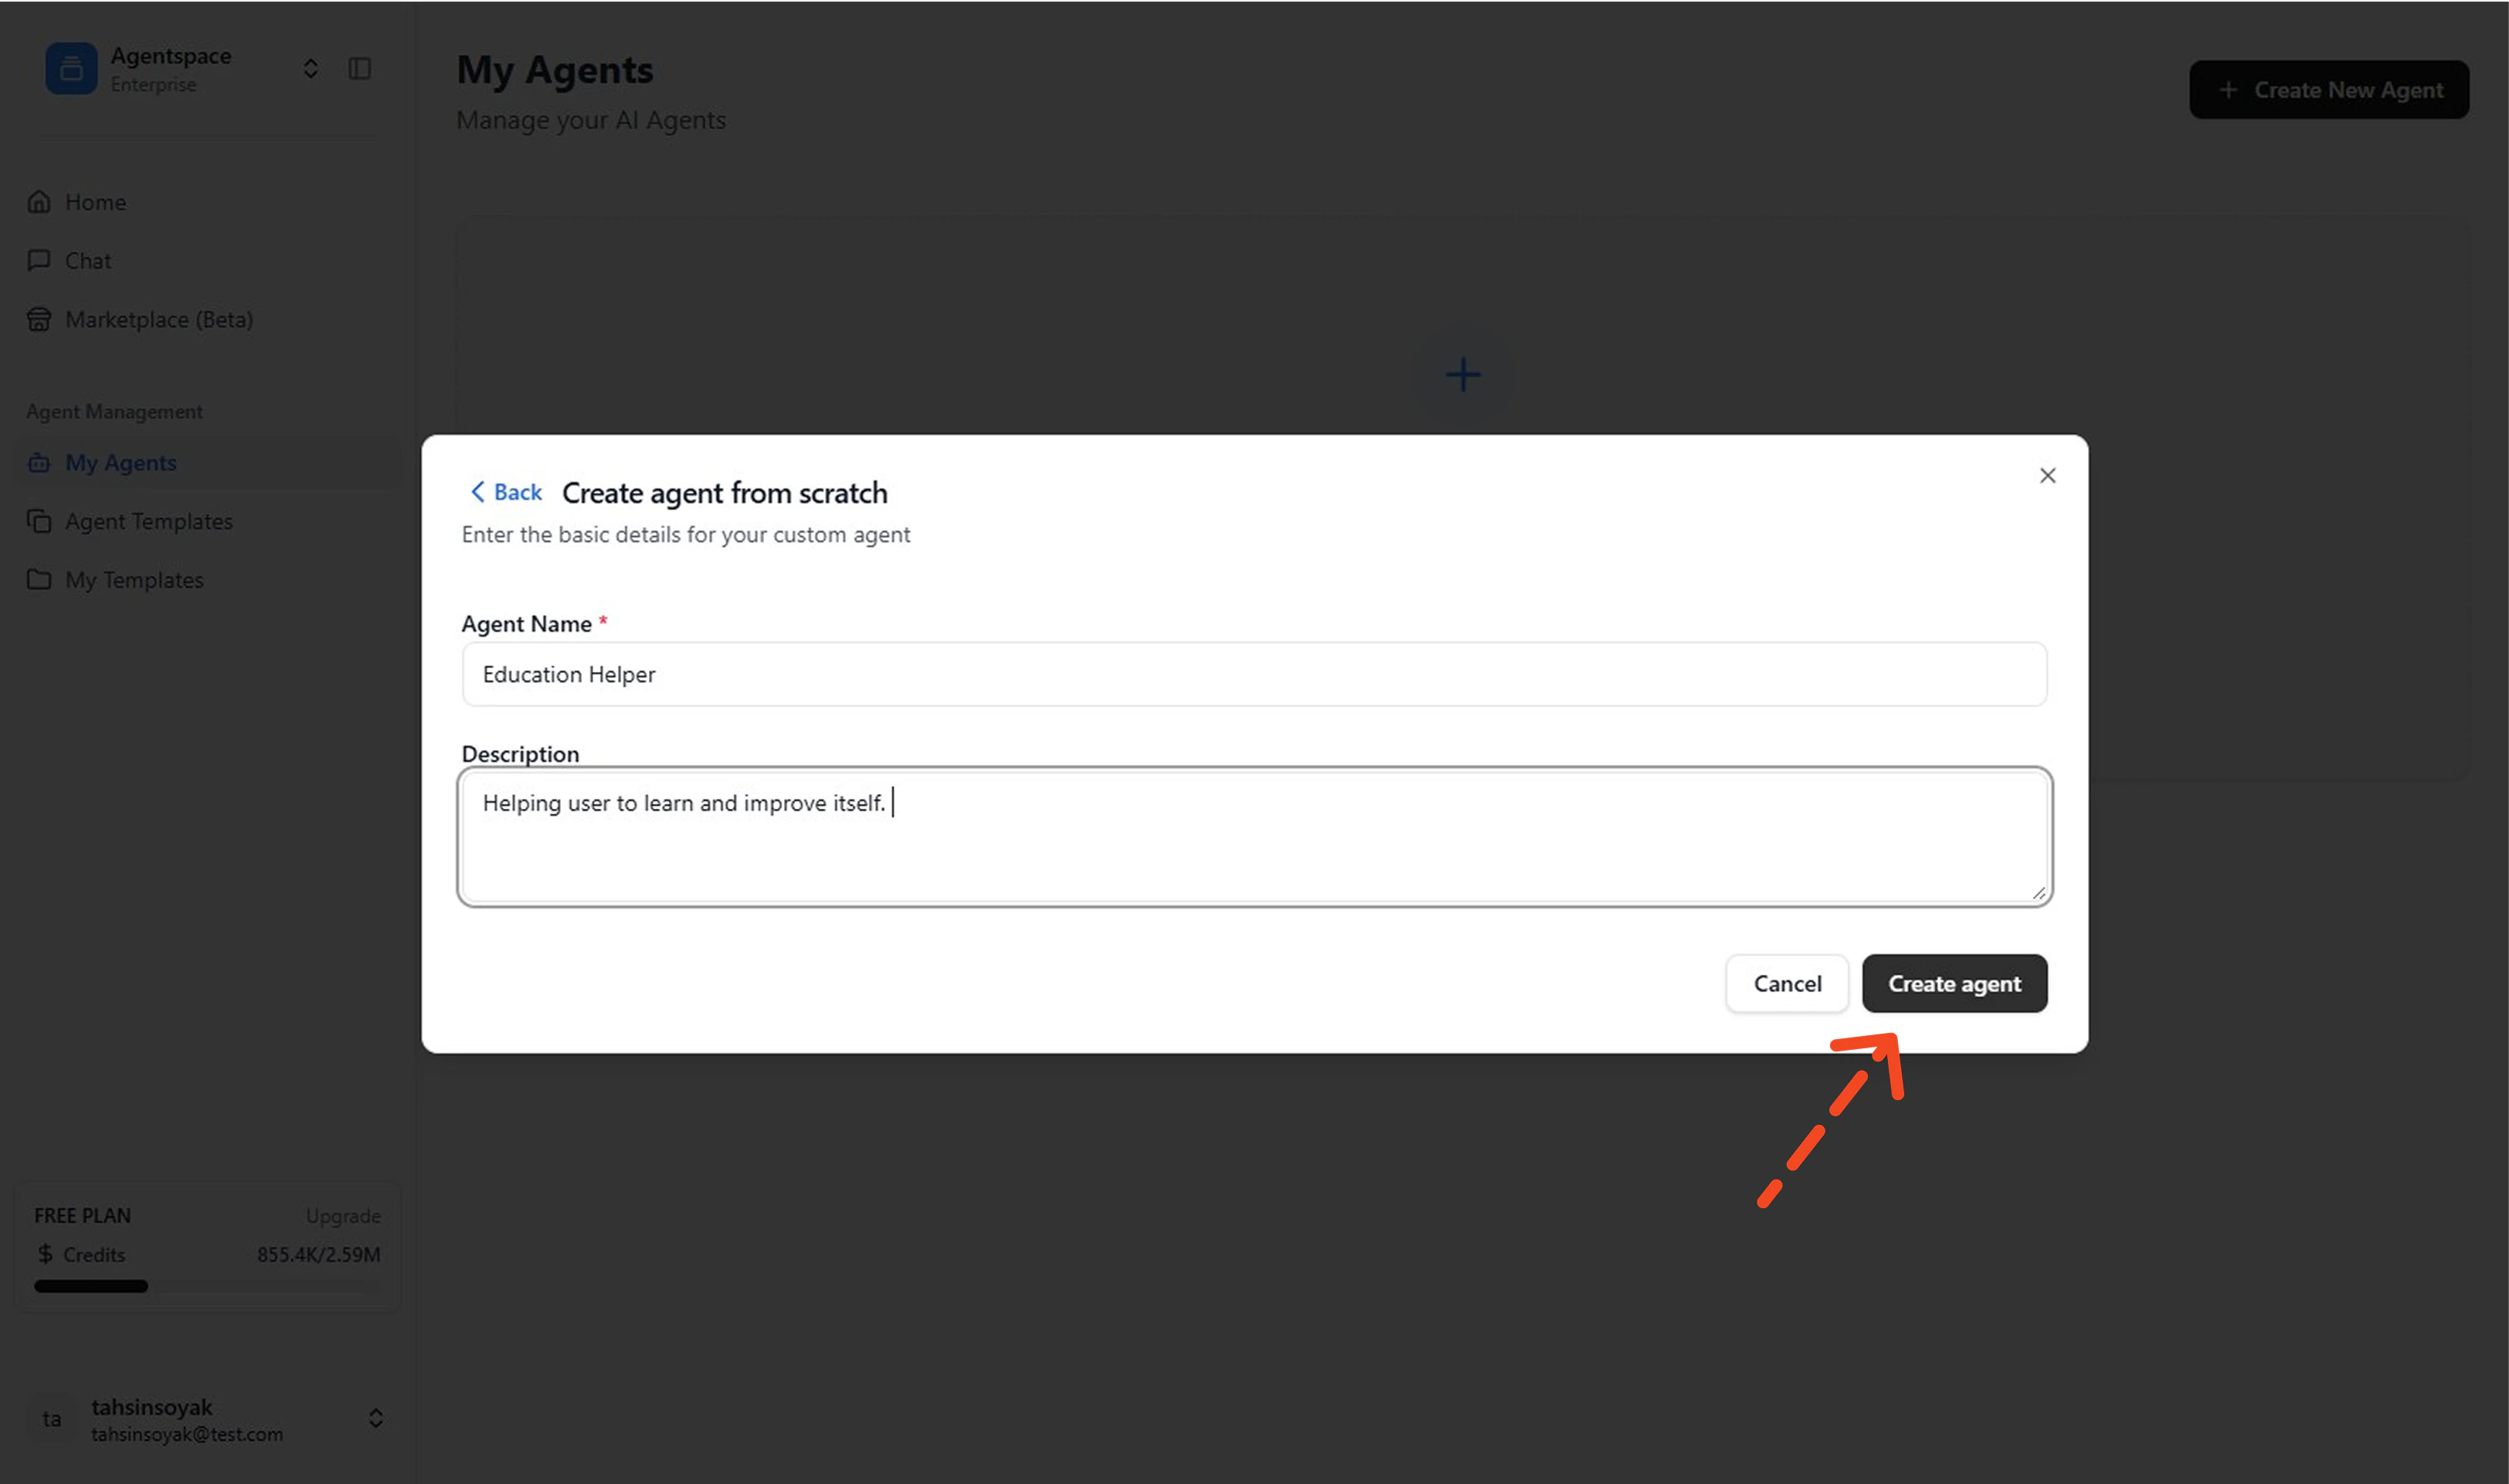
-
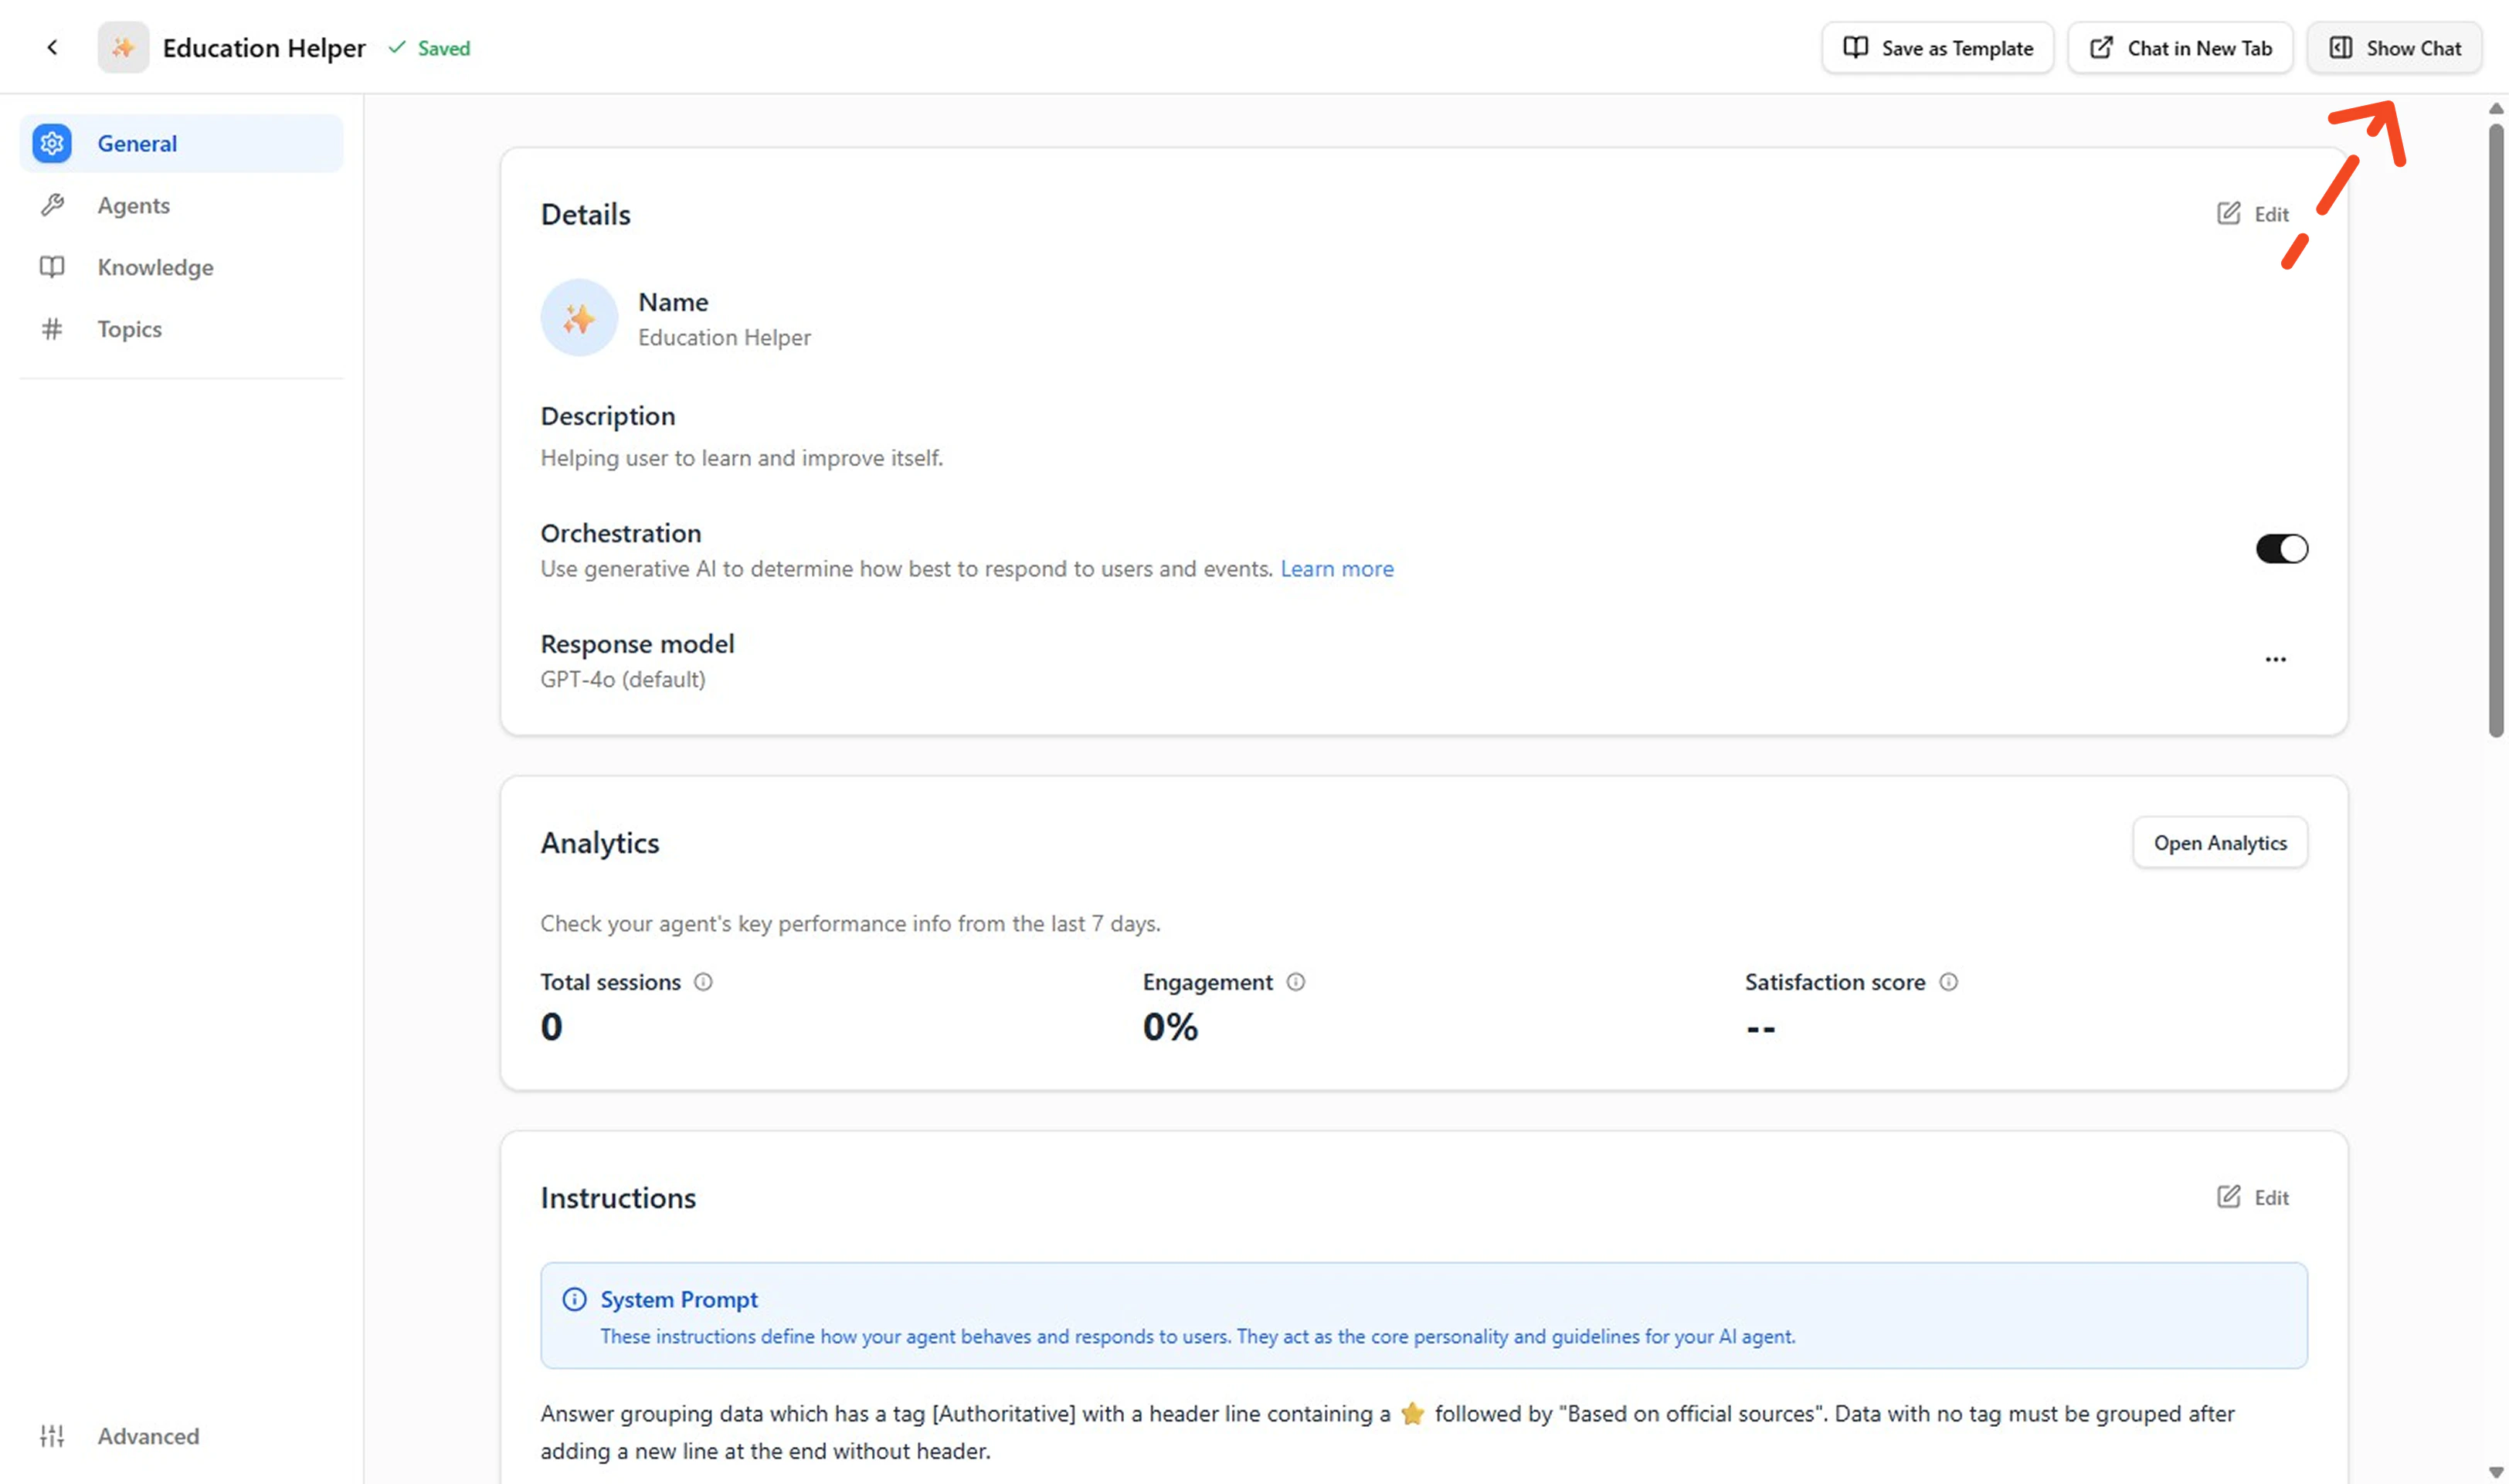
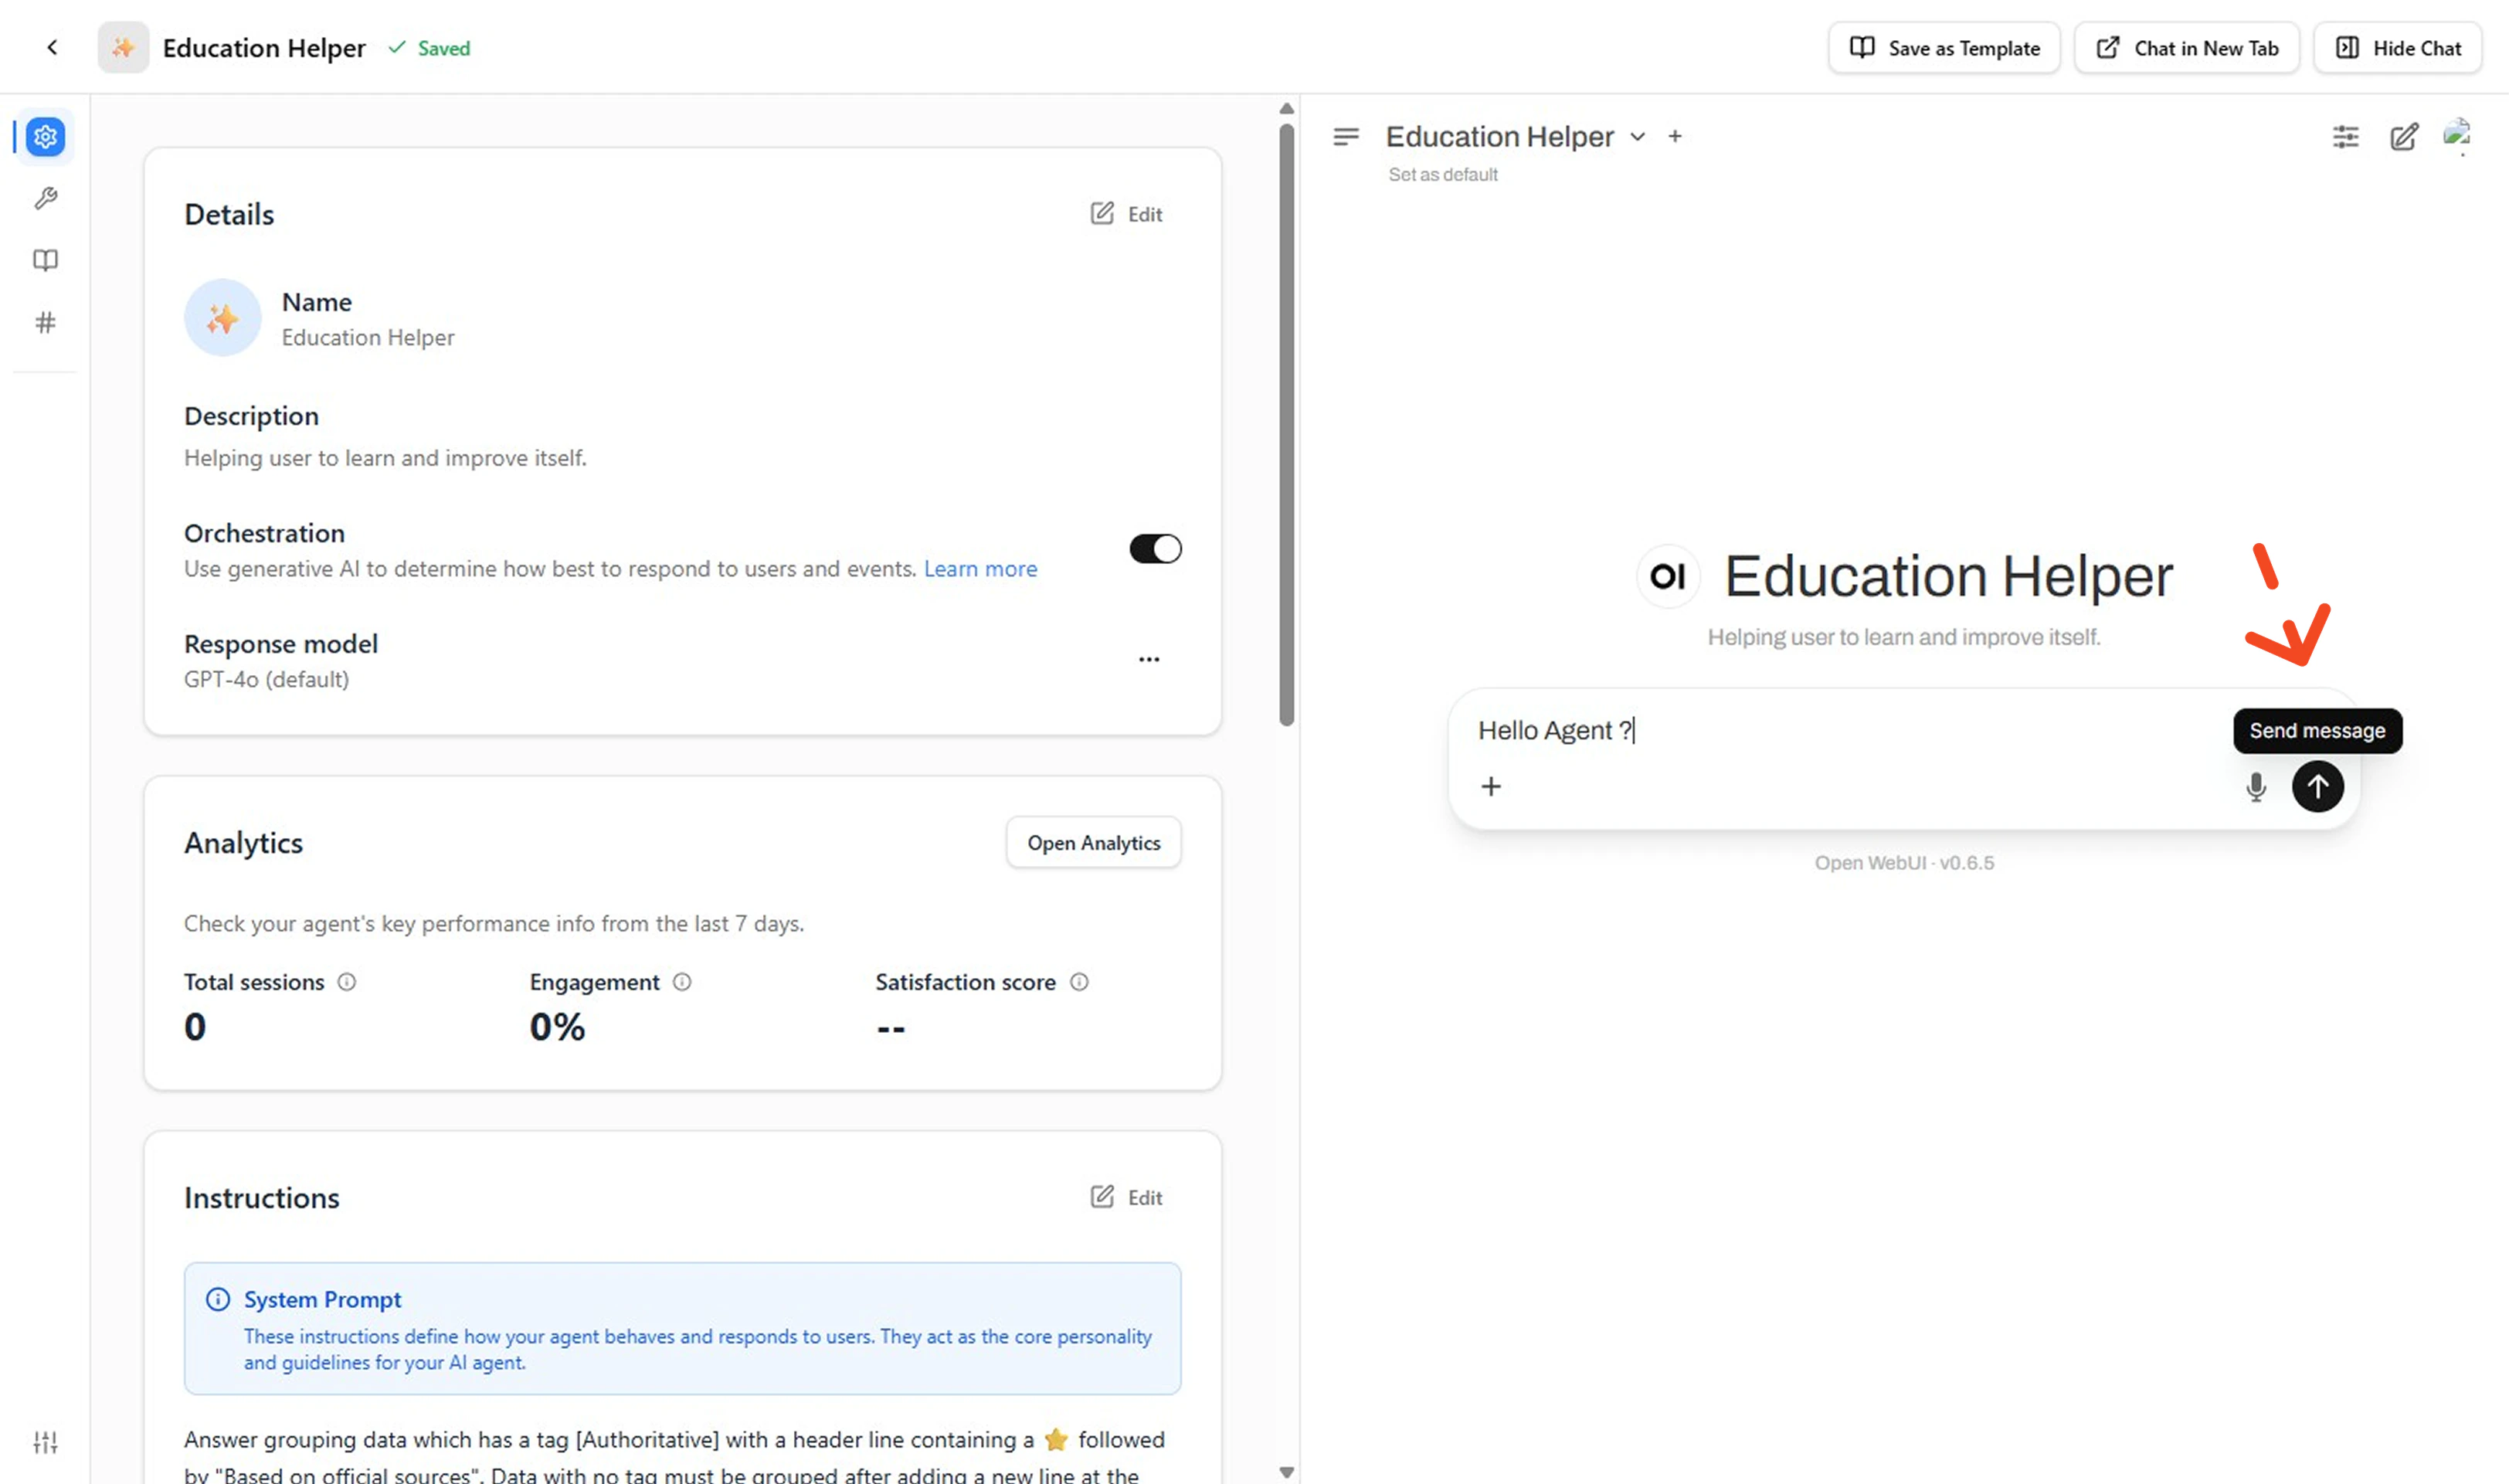
Open Chat Interface
Click Show Chat on the new agent card to begin testing.
-
Test Your Agent
Use the integrated chat interface to perform initial testing. Send a simple message like
Hello Agent ?to verify basic functionality. This chat feature allows you to:- Test real-time communication with your agent
- Validate response quality and speed
- Debug issues immediately during development
- Ensure your agent is properly configured before deployment
- What’s Next: Define Your Agent’s Capabilities Now that your agent is responding, add your first Topic to define what jobs it can handle. Navigate to the Topics tab and click + Create New Topic to establish a specific intent domain (follow How to Create a Topic). Once your Topic definition is stable, you can add Actions for specific capabilities, then re‑test with both positive and negative prompts to ensure reliable behavior.
| Field | Anti‑Pattern | Improved |
|---|---|---|
| Name | TestAgent1 | CustomerSupportCoach |
| Description | Helps users | Coaches support reps on tone & resolution steps |
- Use action verbs (“Guides”, “Summarizes”, “Resolves”).
- Avoid opaque internal acronyms.
- Reserve suffixes for versions only when needed (
_v1).
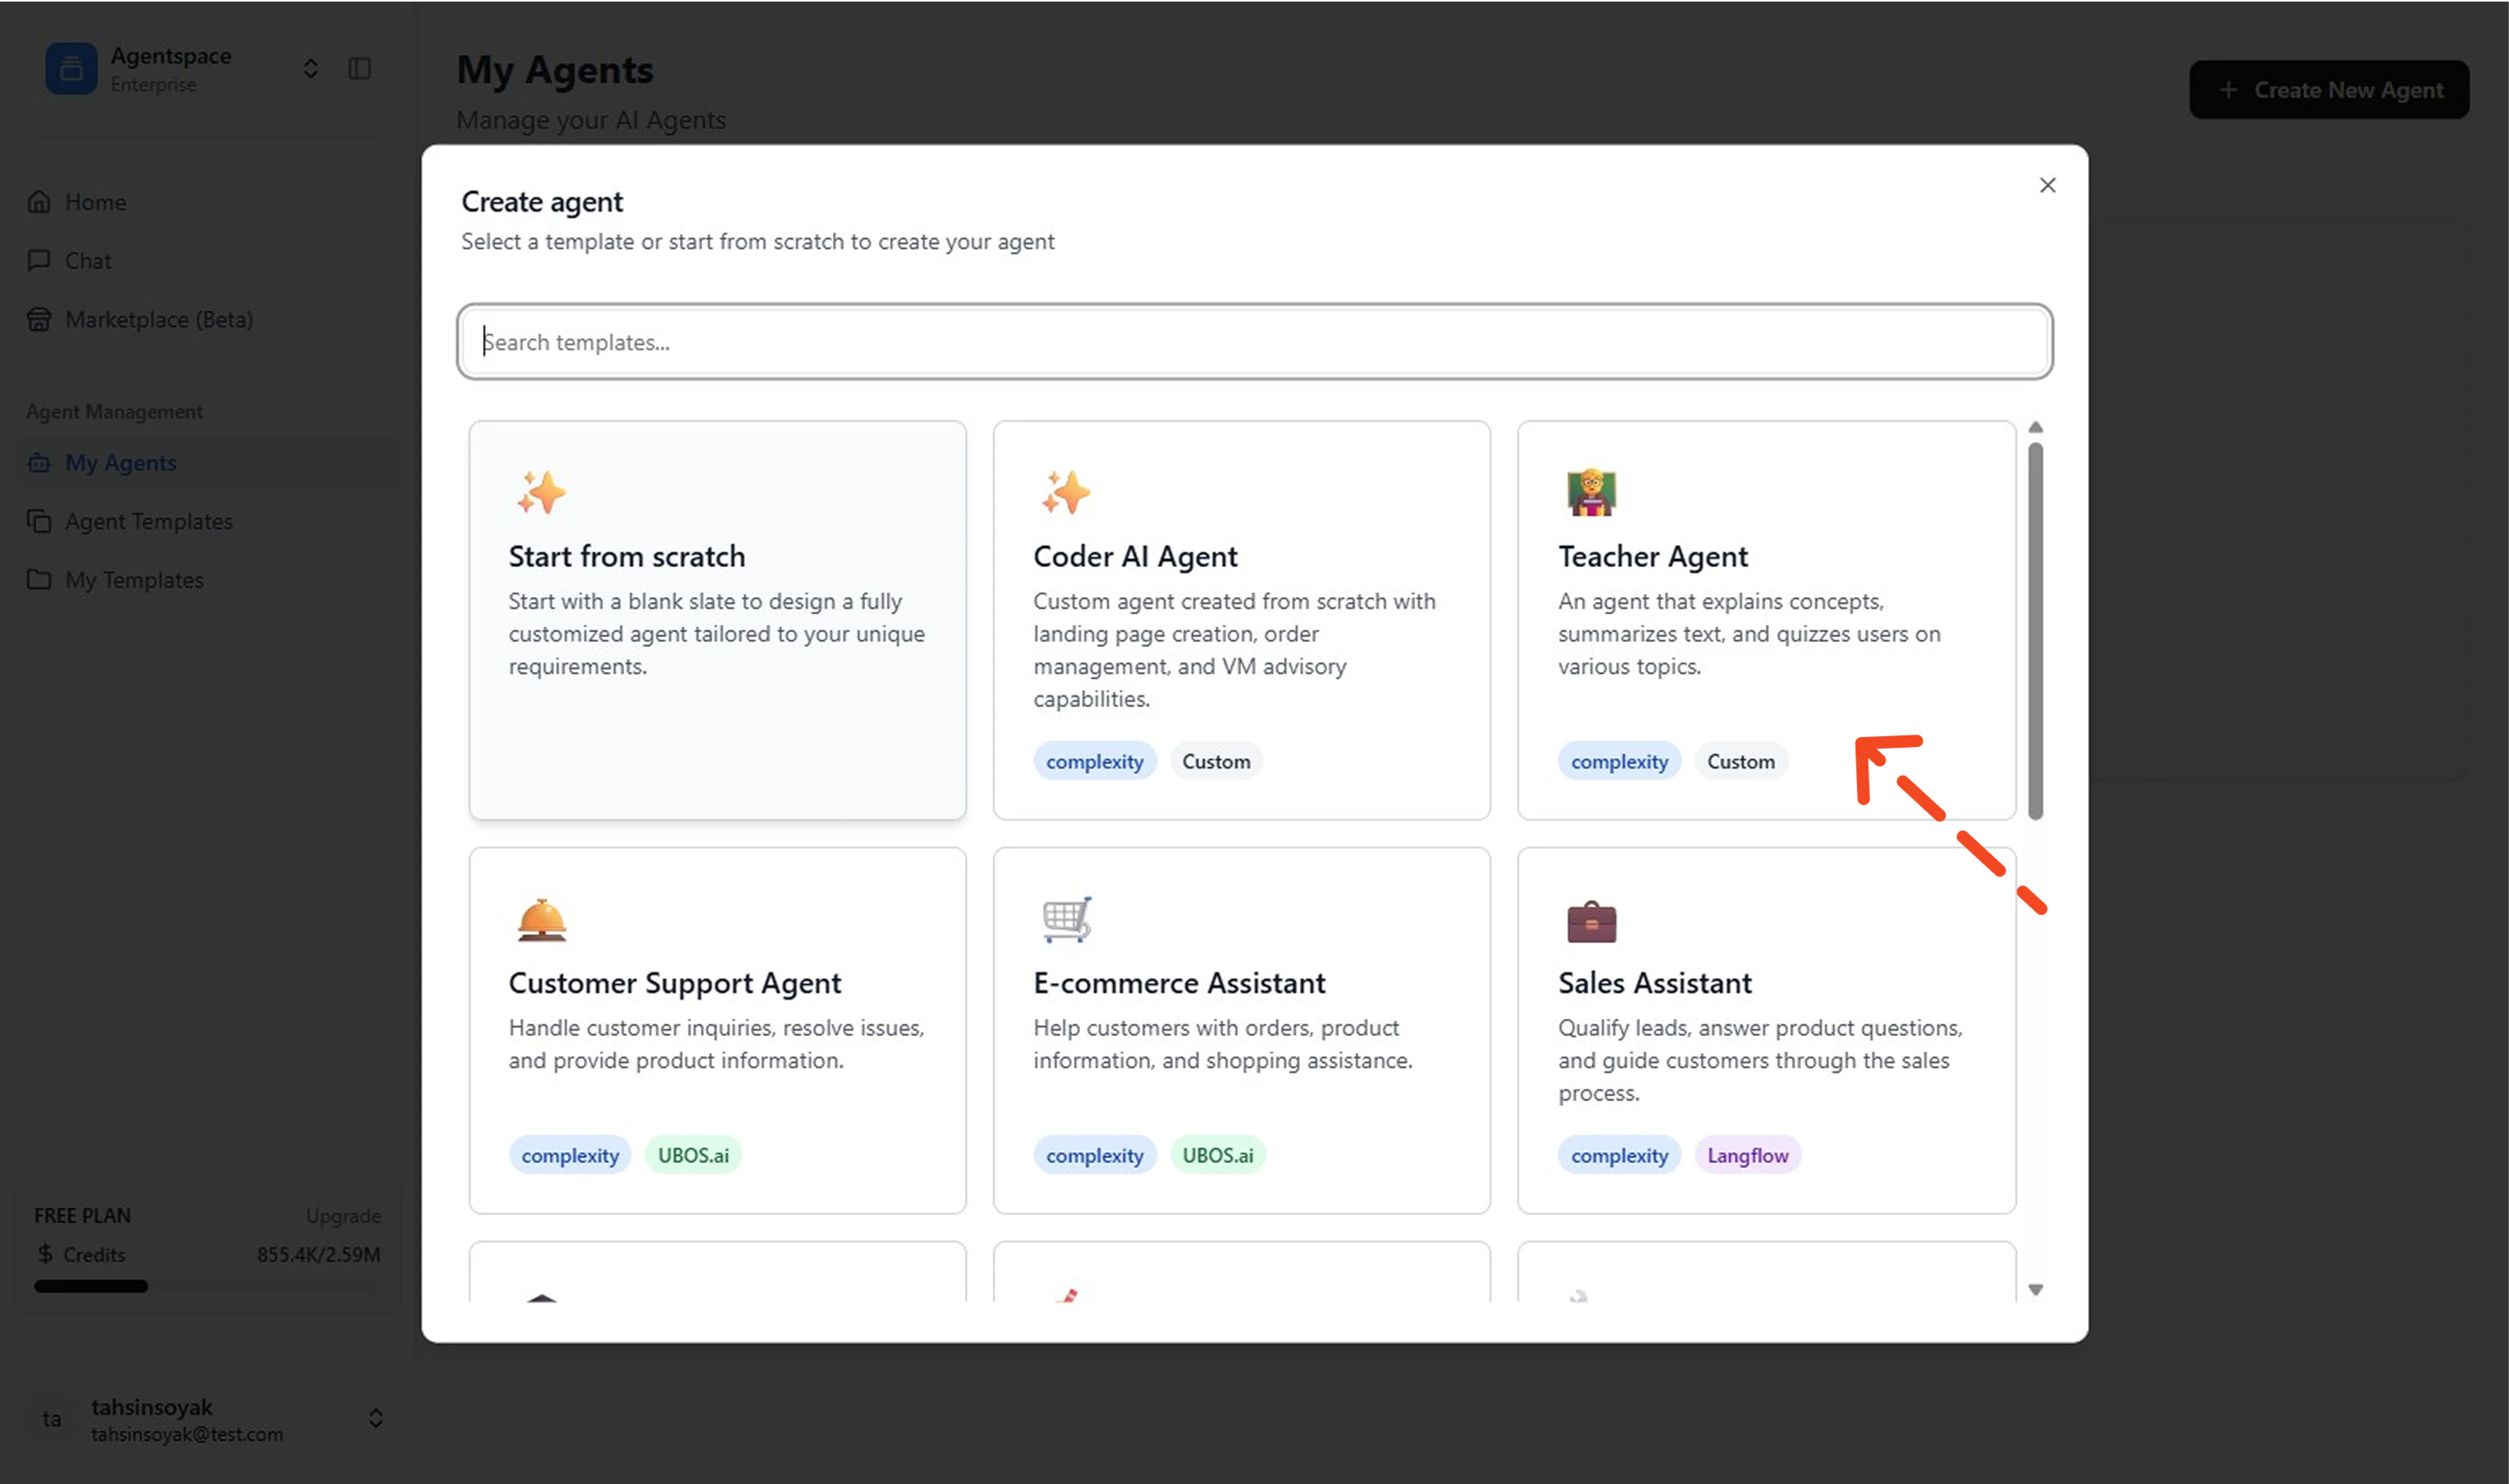
Create with a Template
Use this when a pre‑built pattern exists and speed matters.-
Open My Agents
Go to the left menu and click My Agents to access your agent management area.
-
Click Create New Agent
Opens the creation panel where you can choose between template or scratch options.
-
Select a Template
Browse available templates and preview included Topics & persona; confirm they match your use case before proceeding.
-
Create Agent
Click the create button to instantiate your agent with the selected template configuration.
 Configure Agent Basics (Optional)If you want to customize the template, click the Customize button to adjust Name and refine Description to match your specific needs. This step can be done before creating the agent if you want to modify the default template settings.
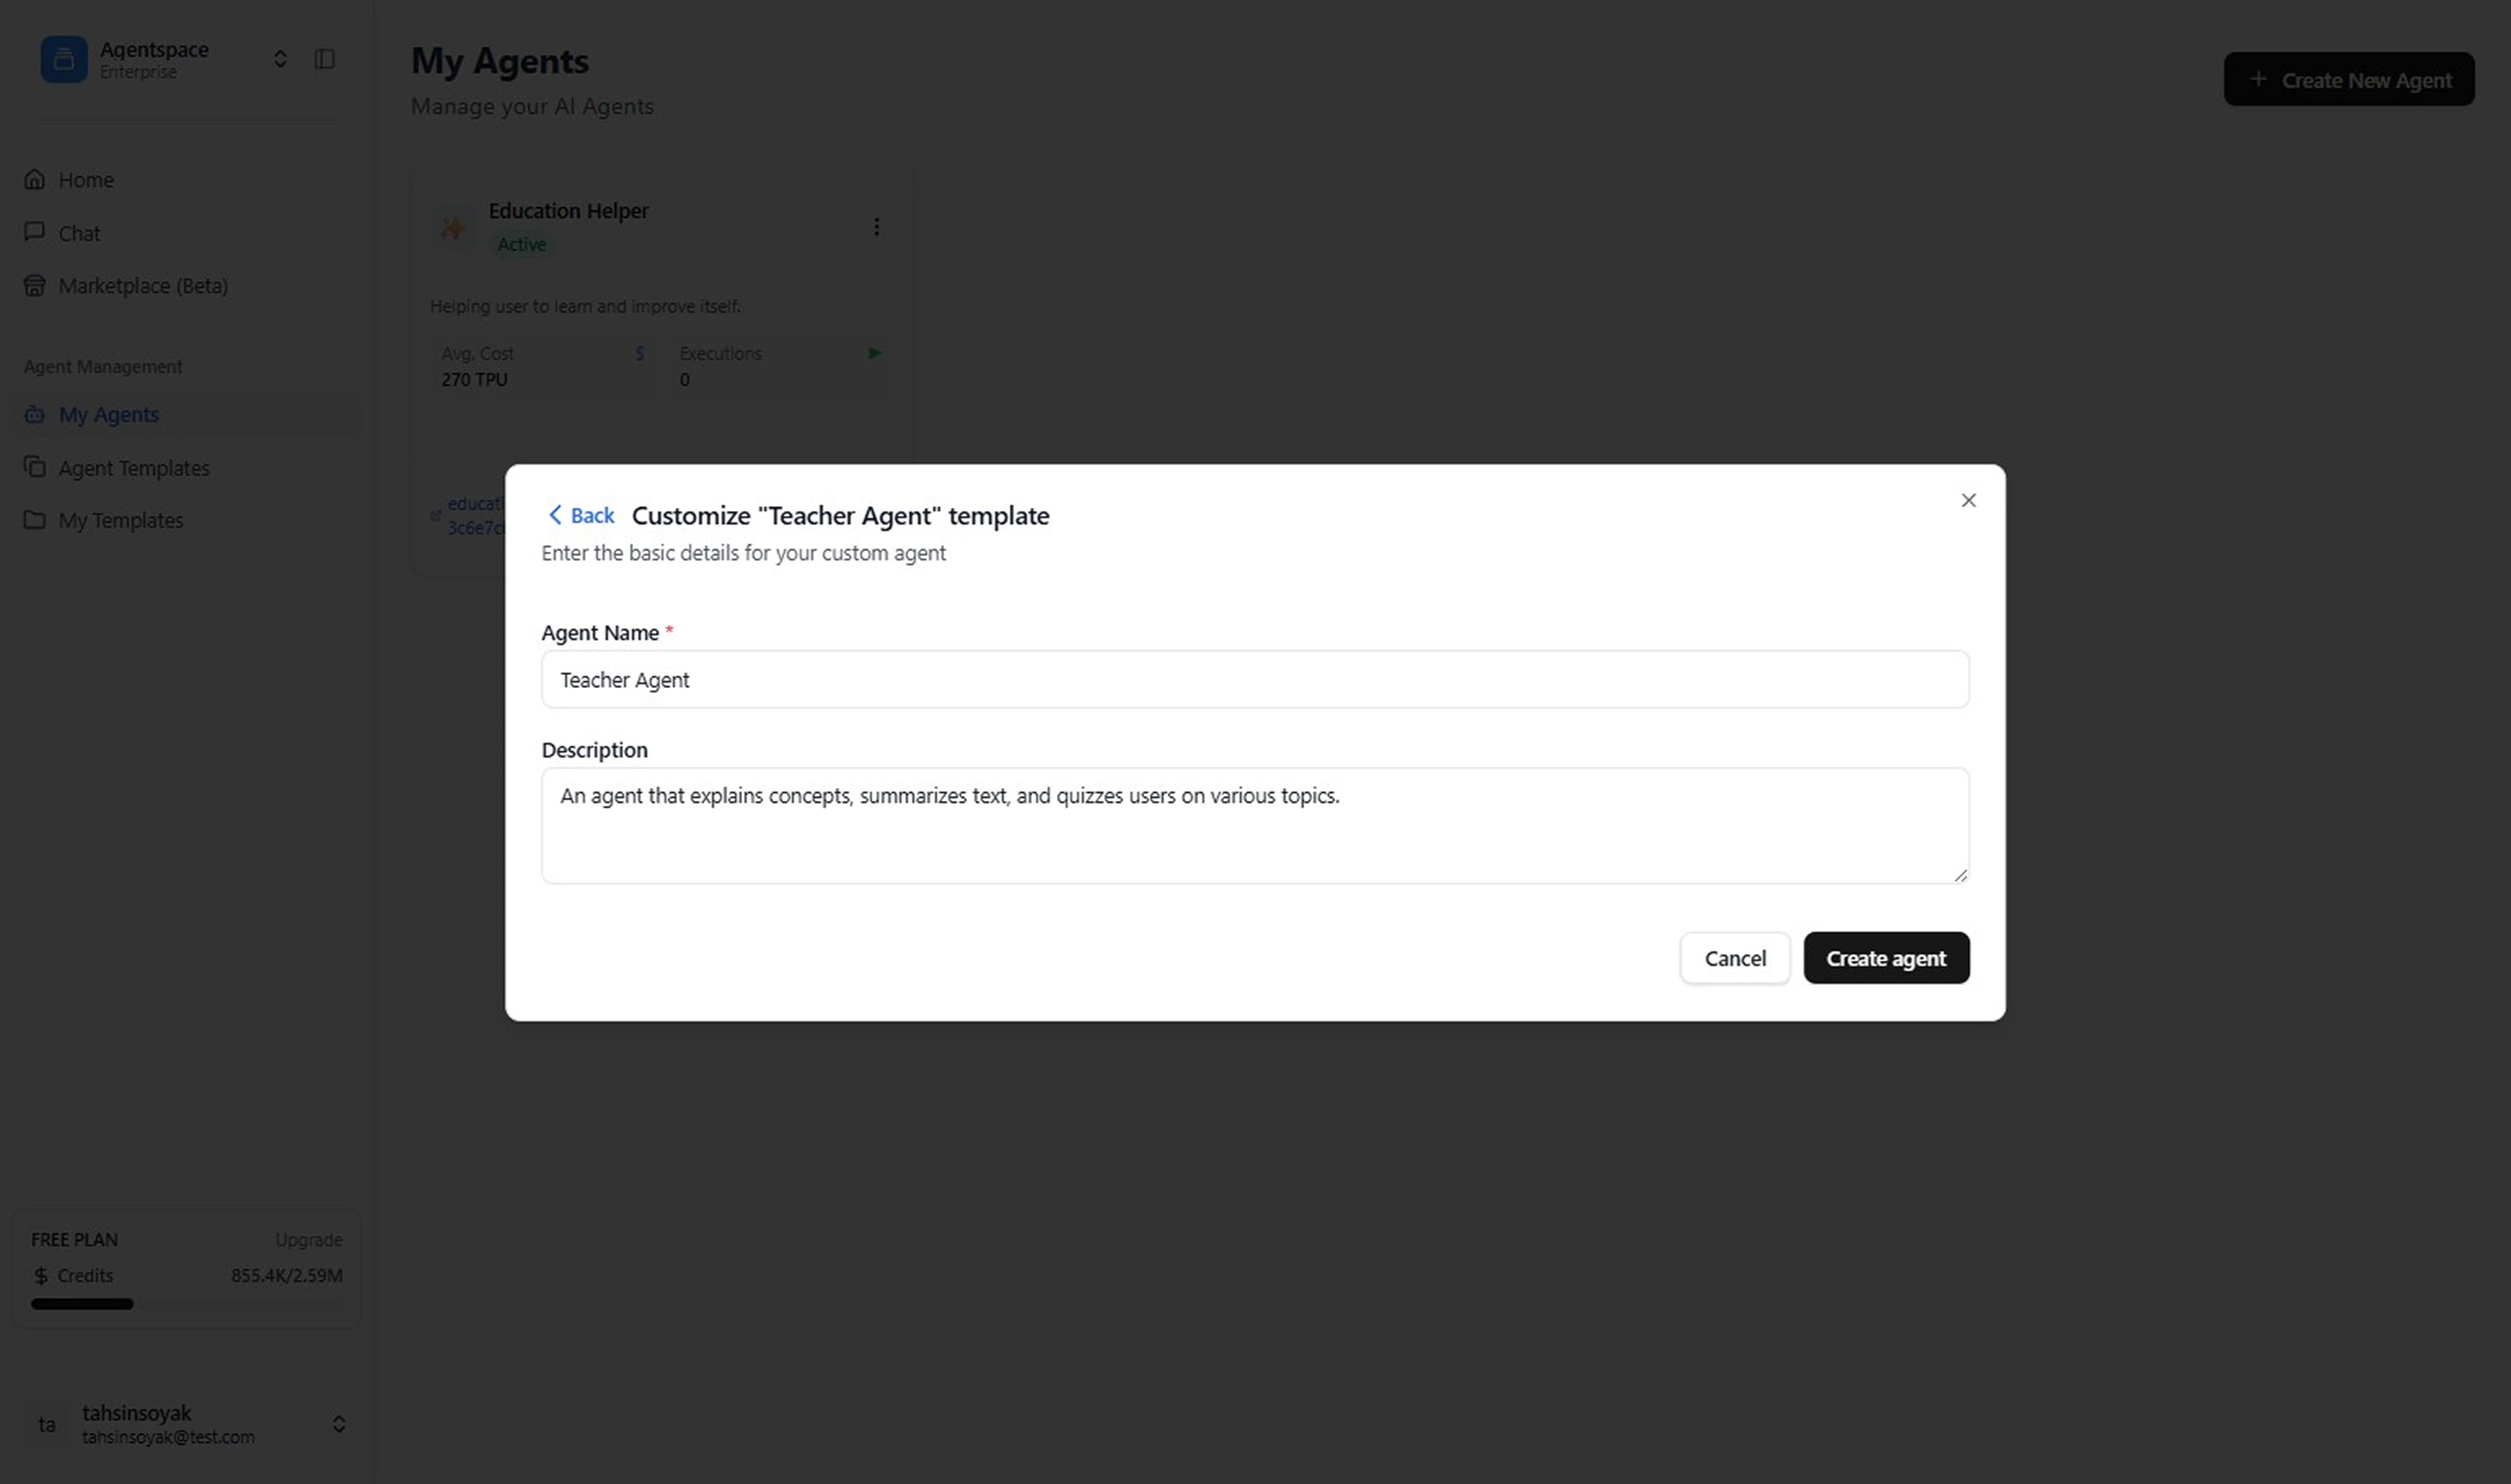
-
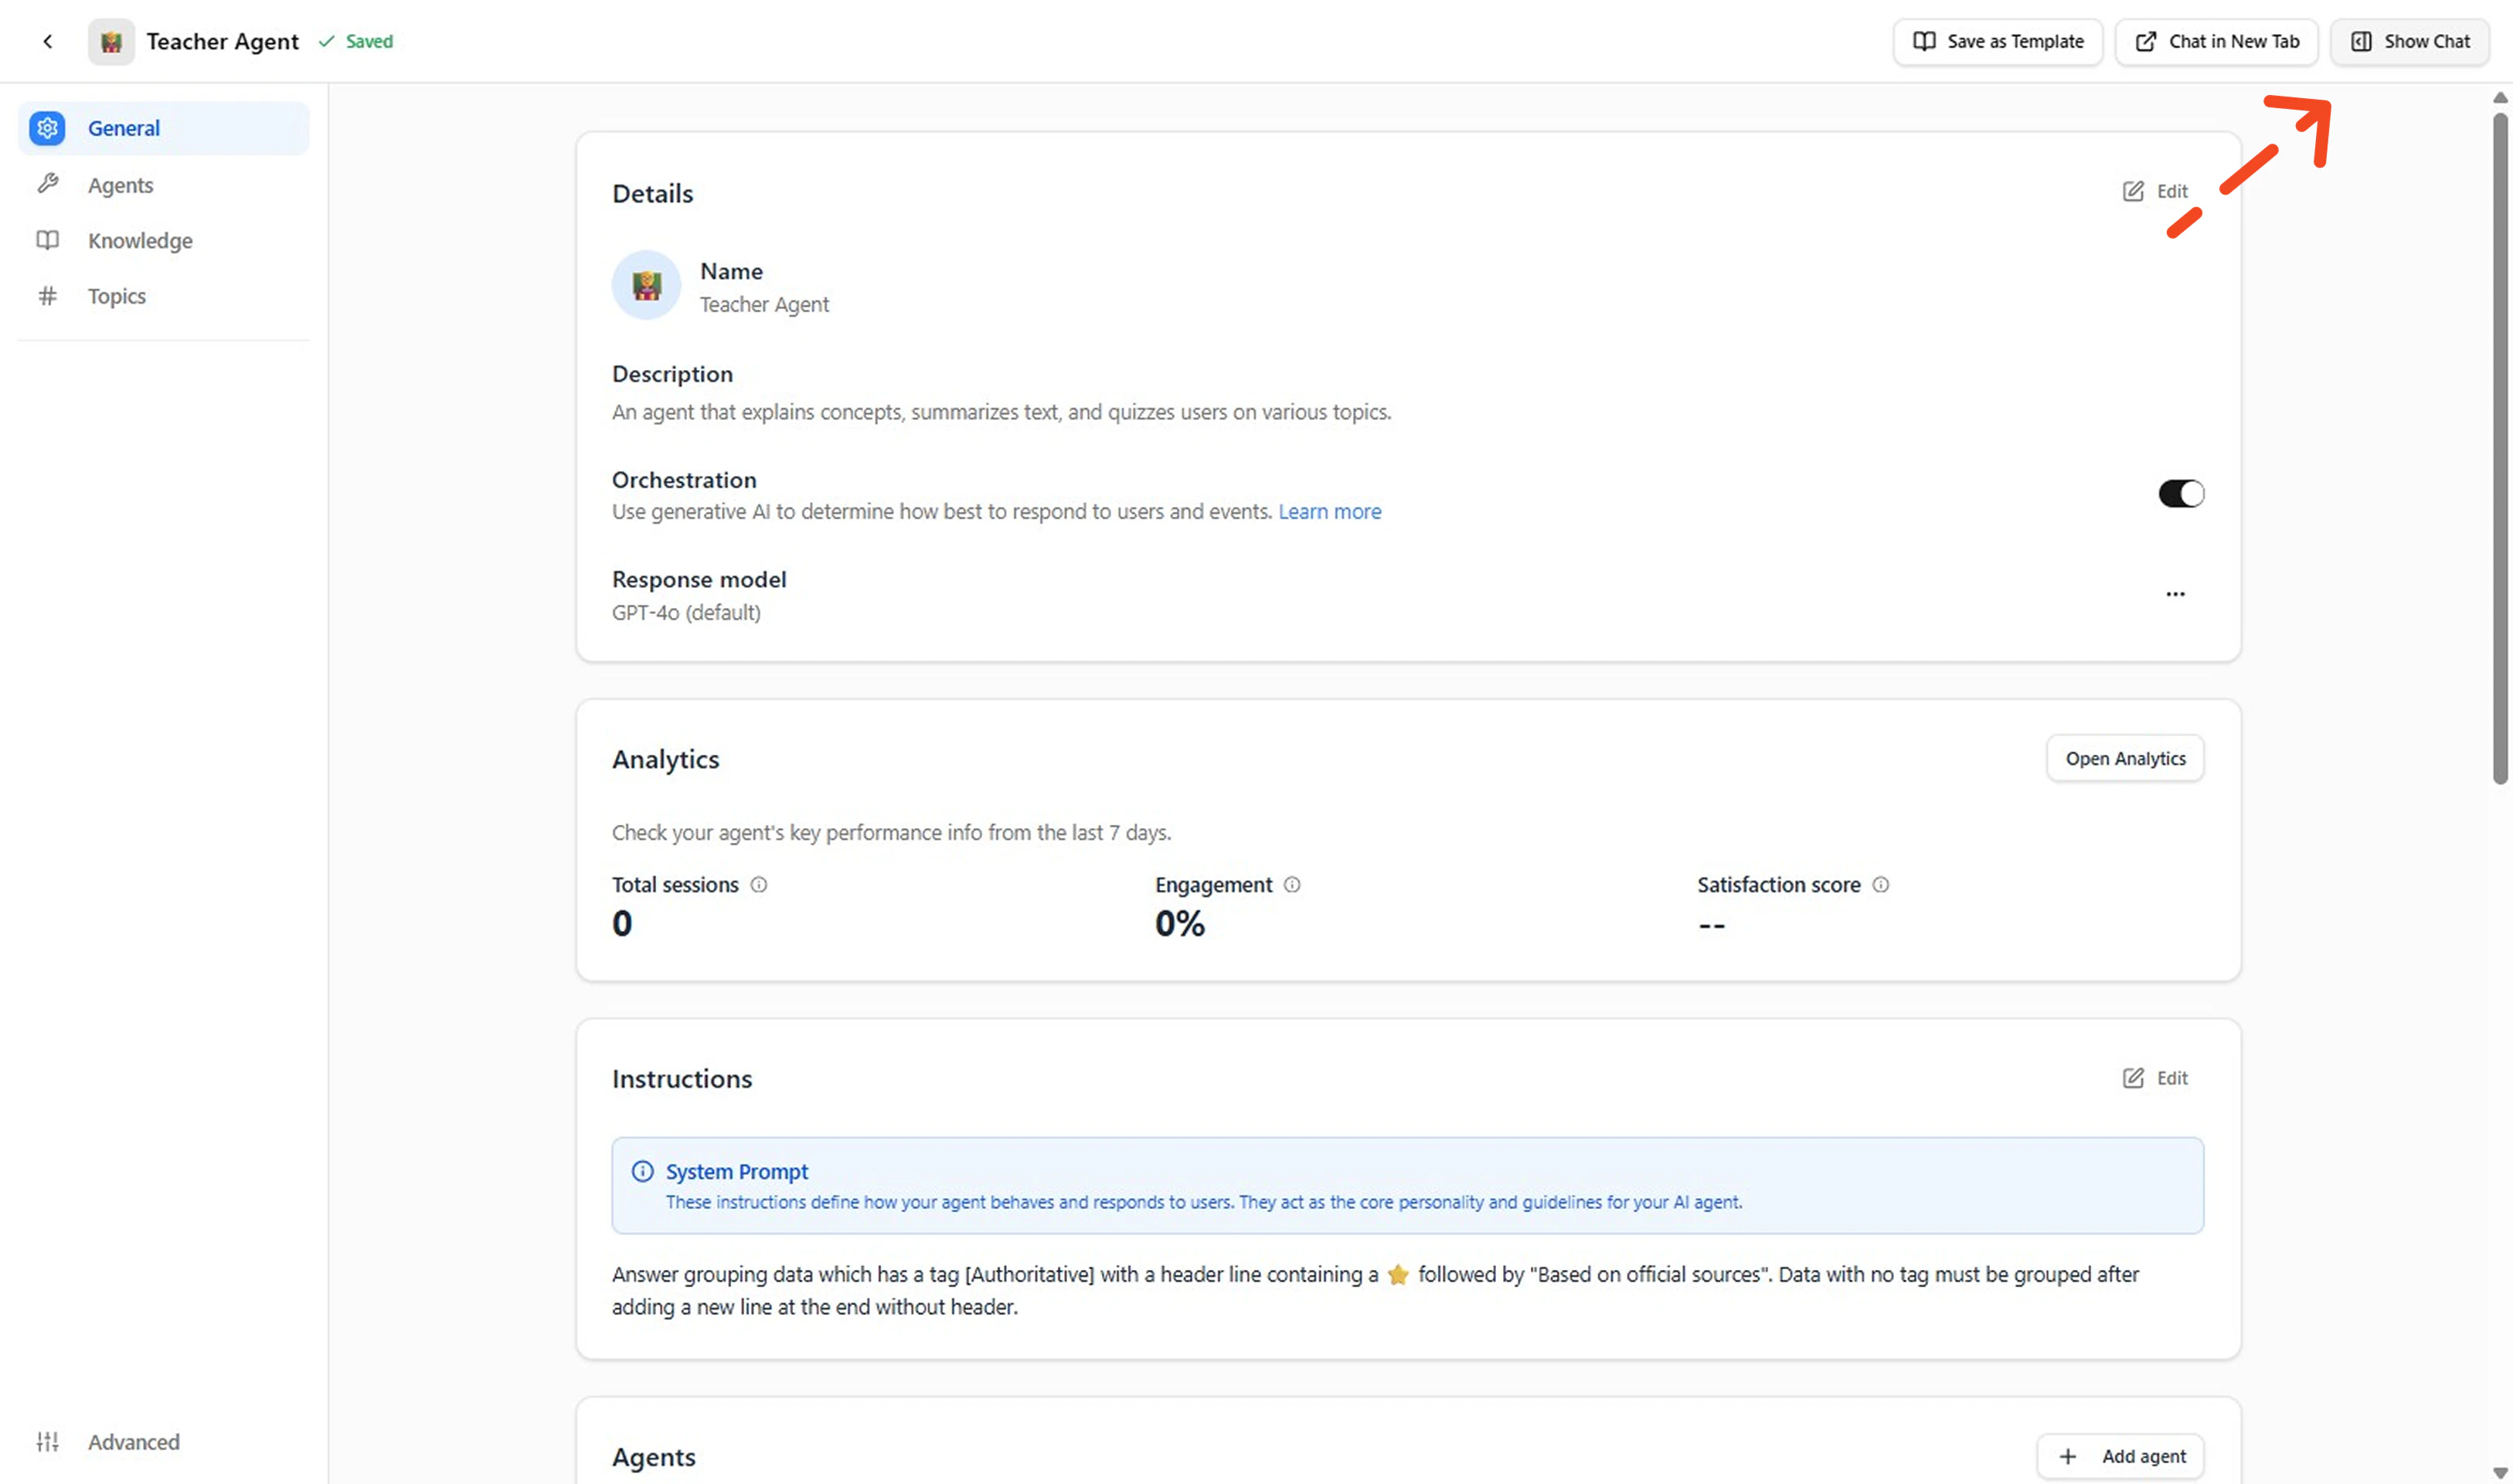
Open Chat Interface
Access the integrated chat feature to begin testing your newly created agent.
-
Test Your Agent
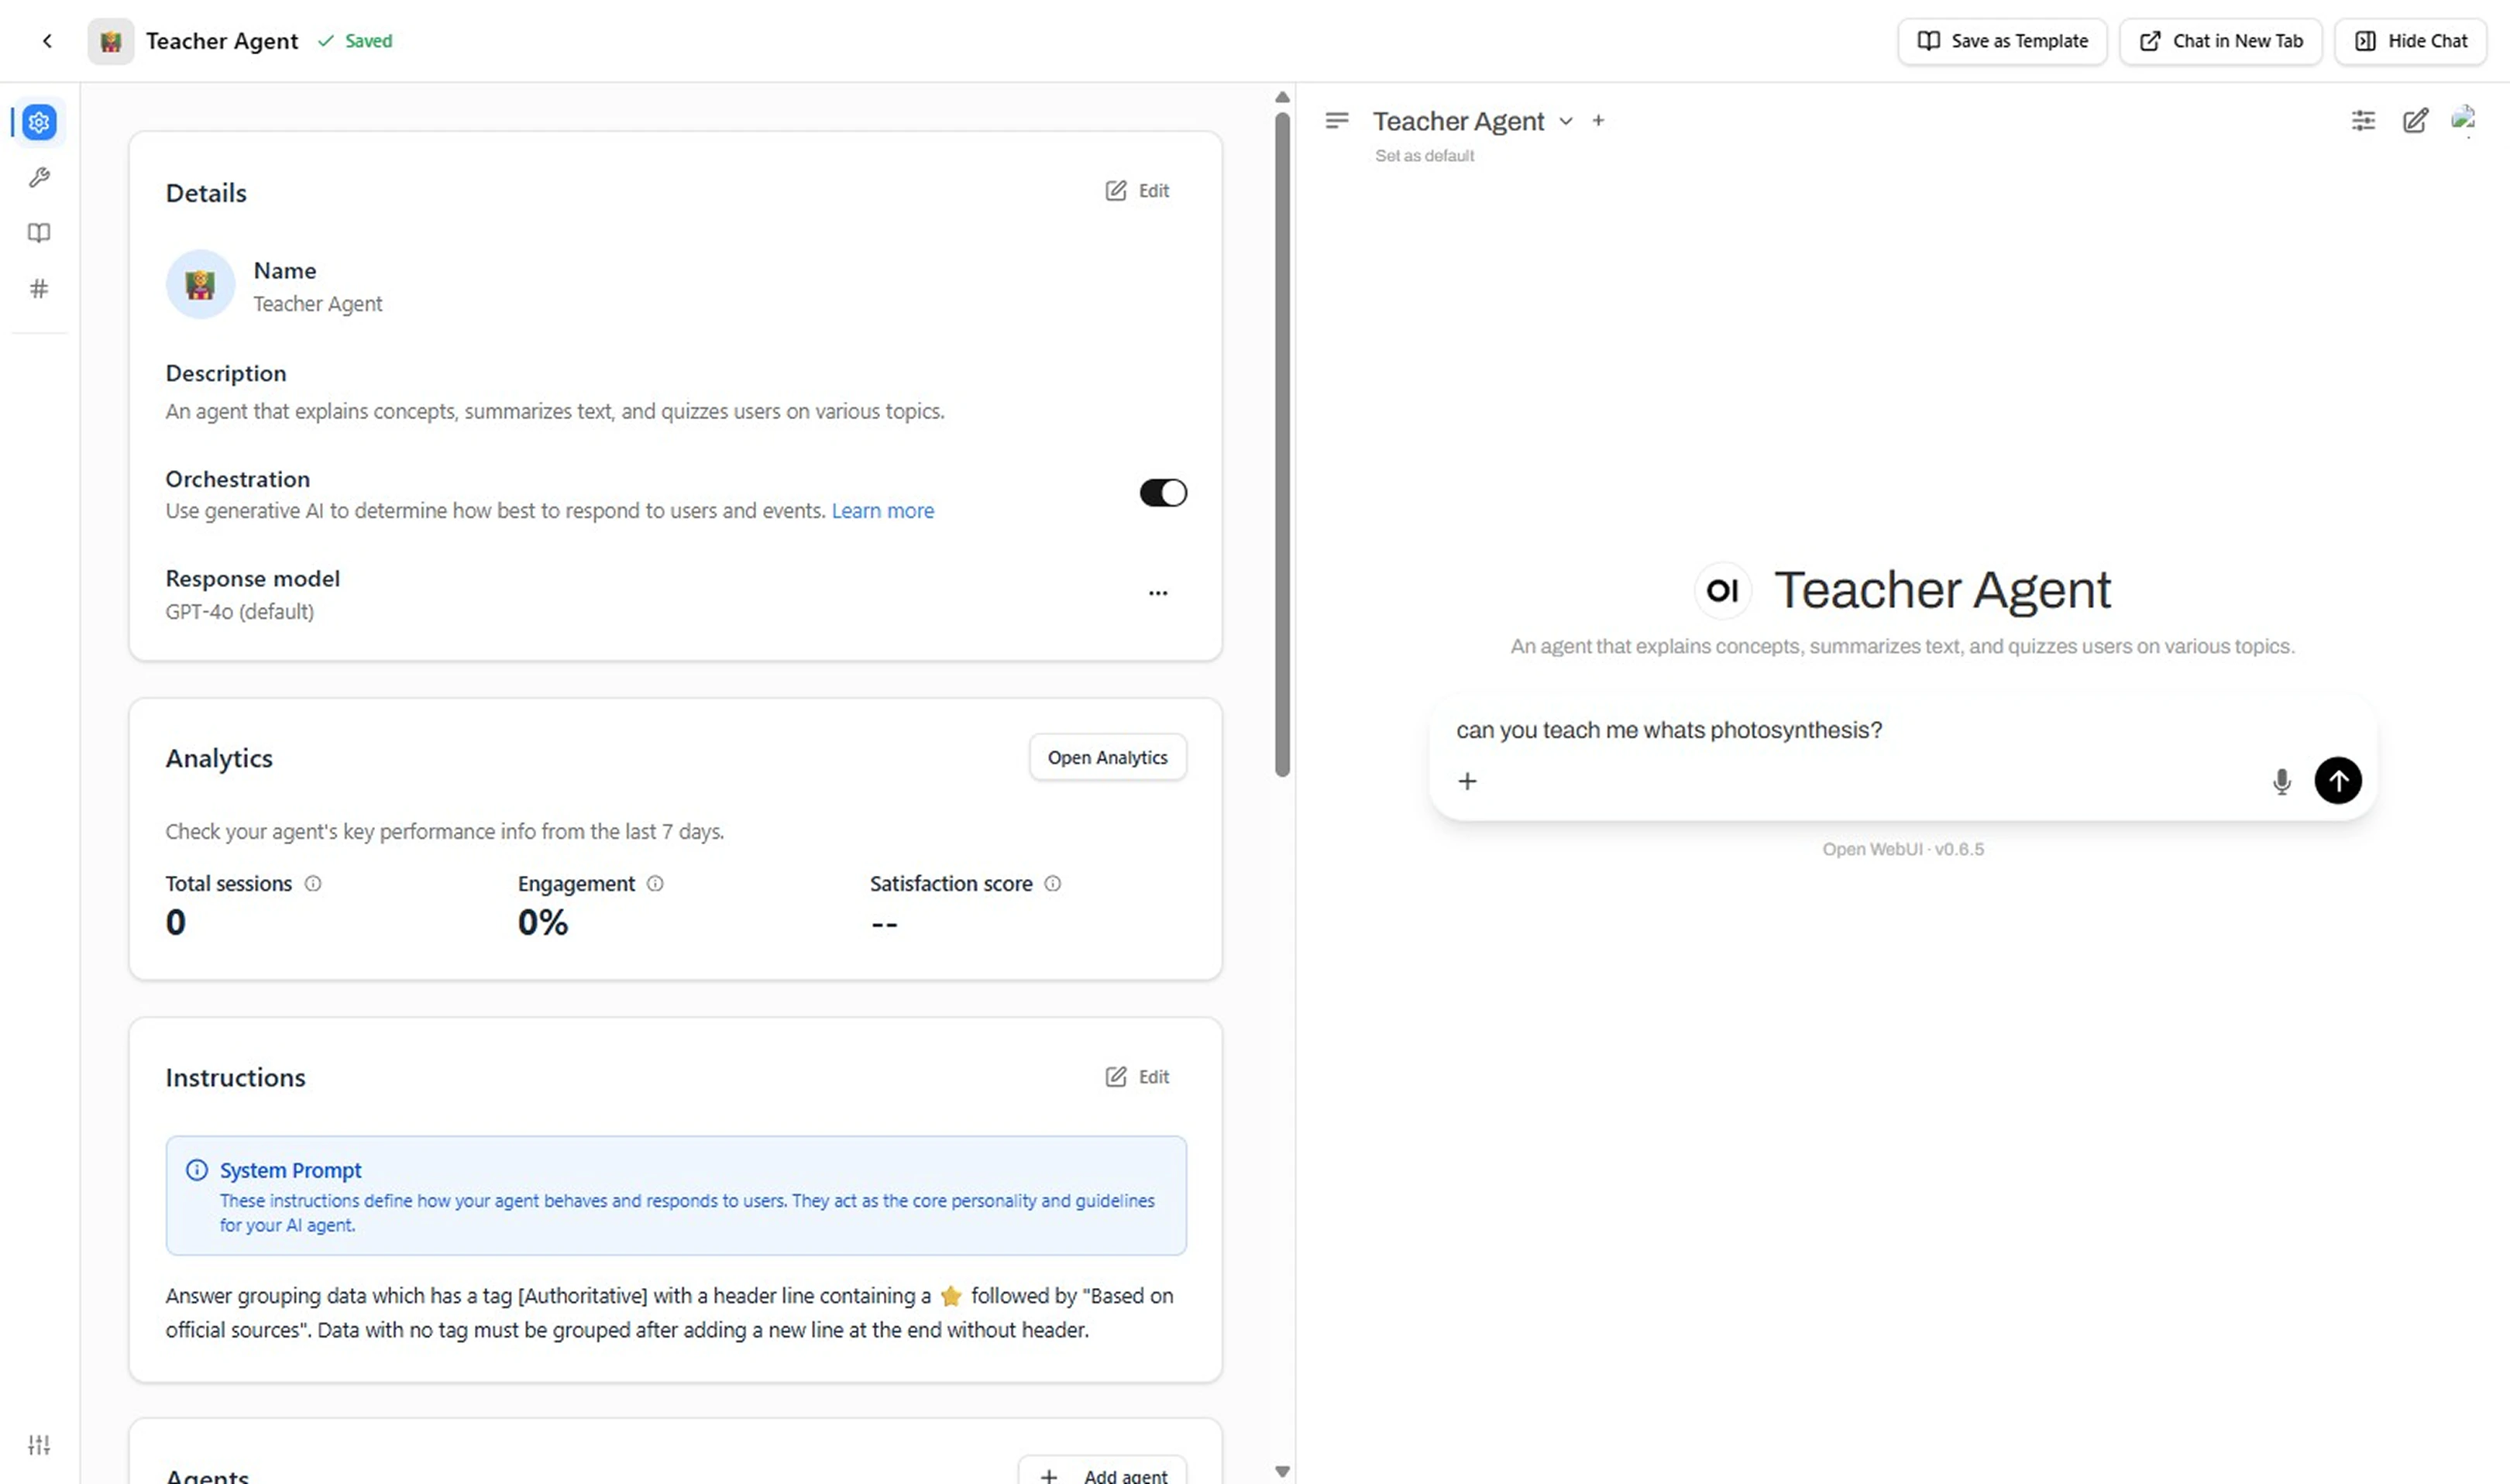
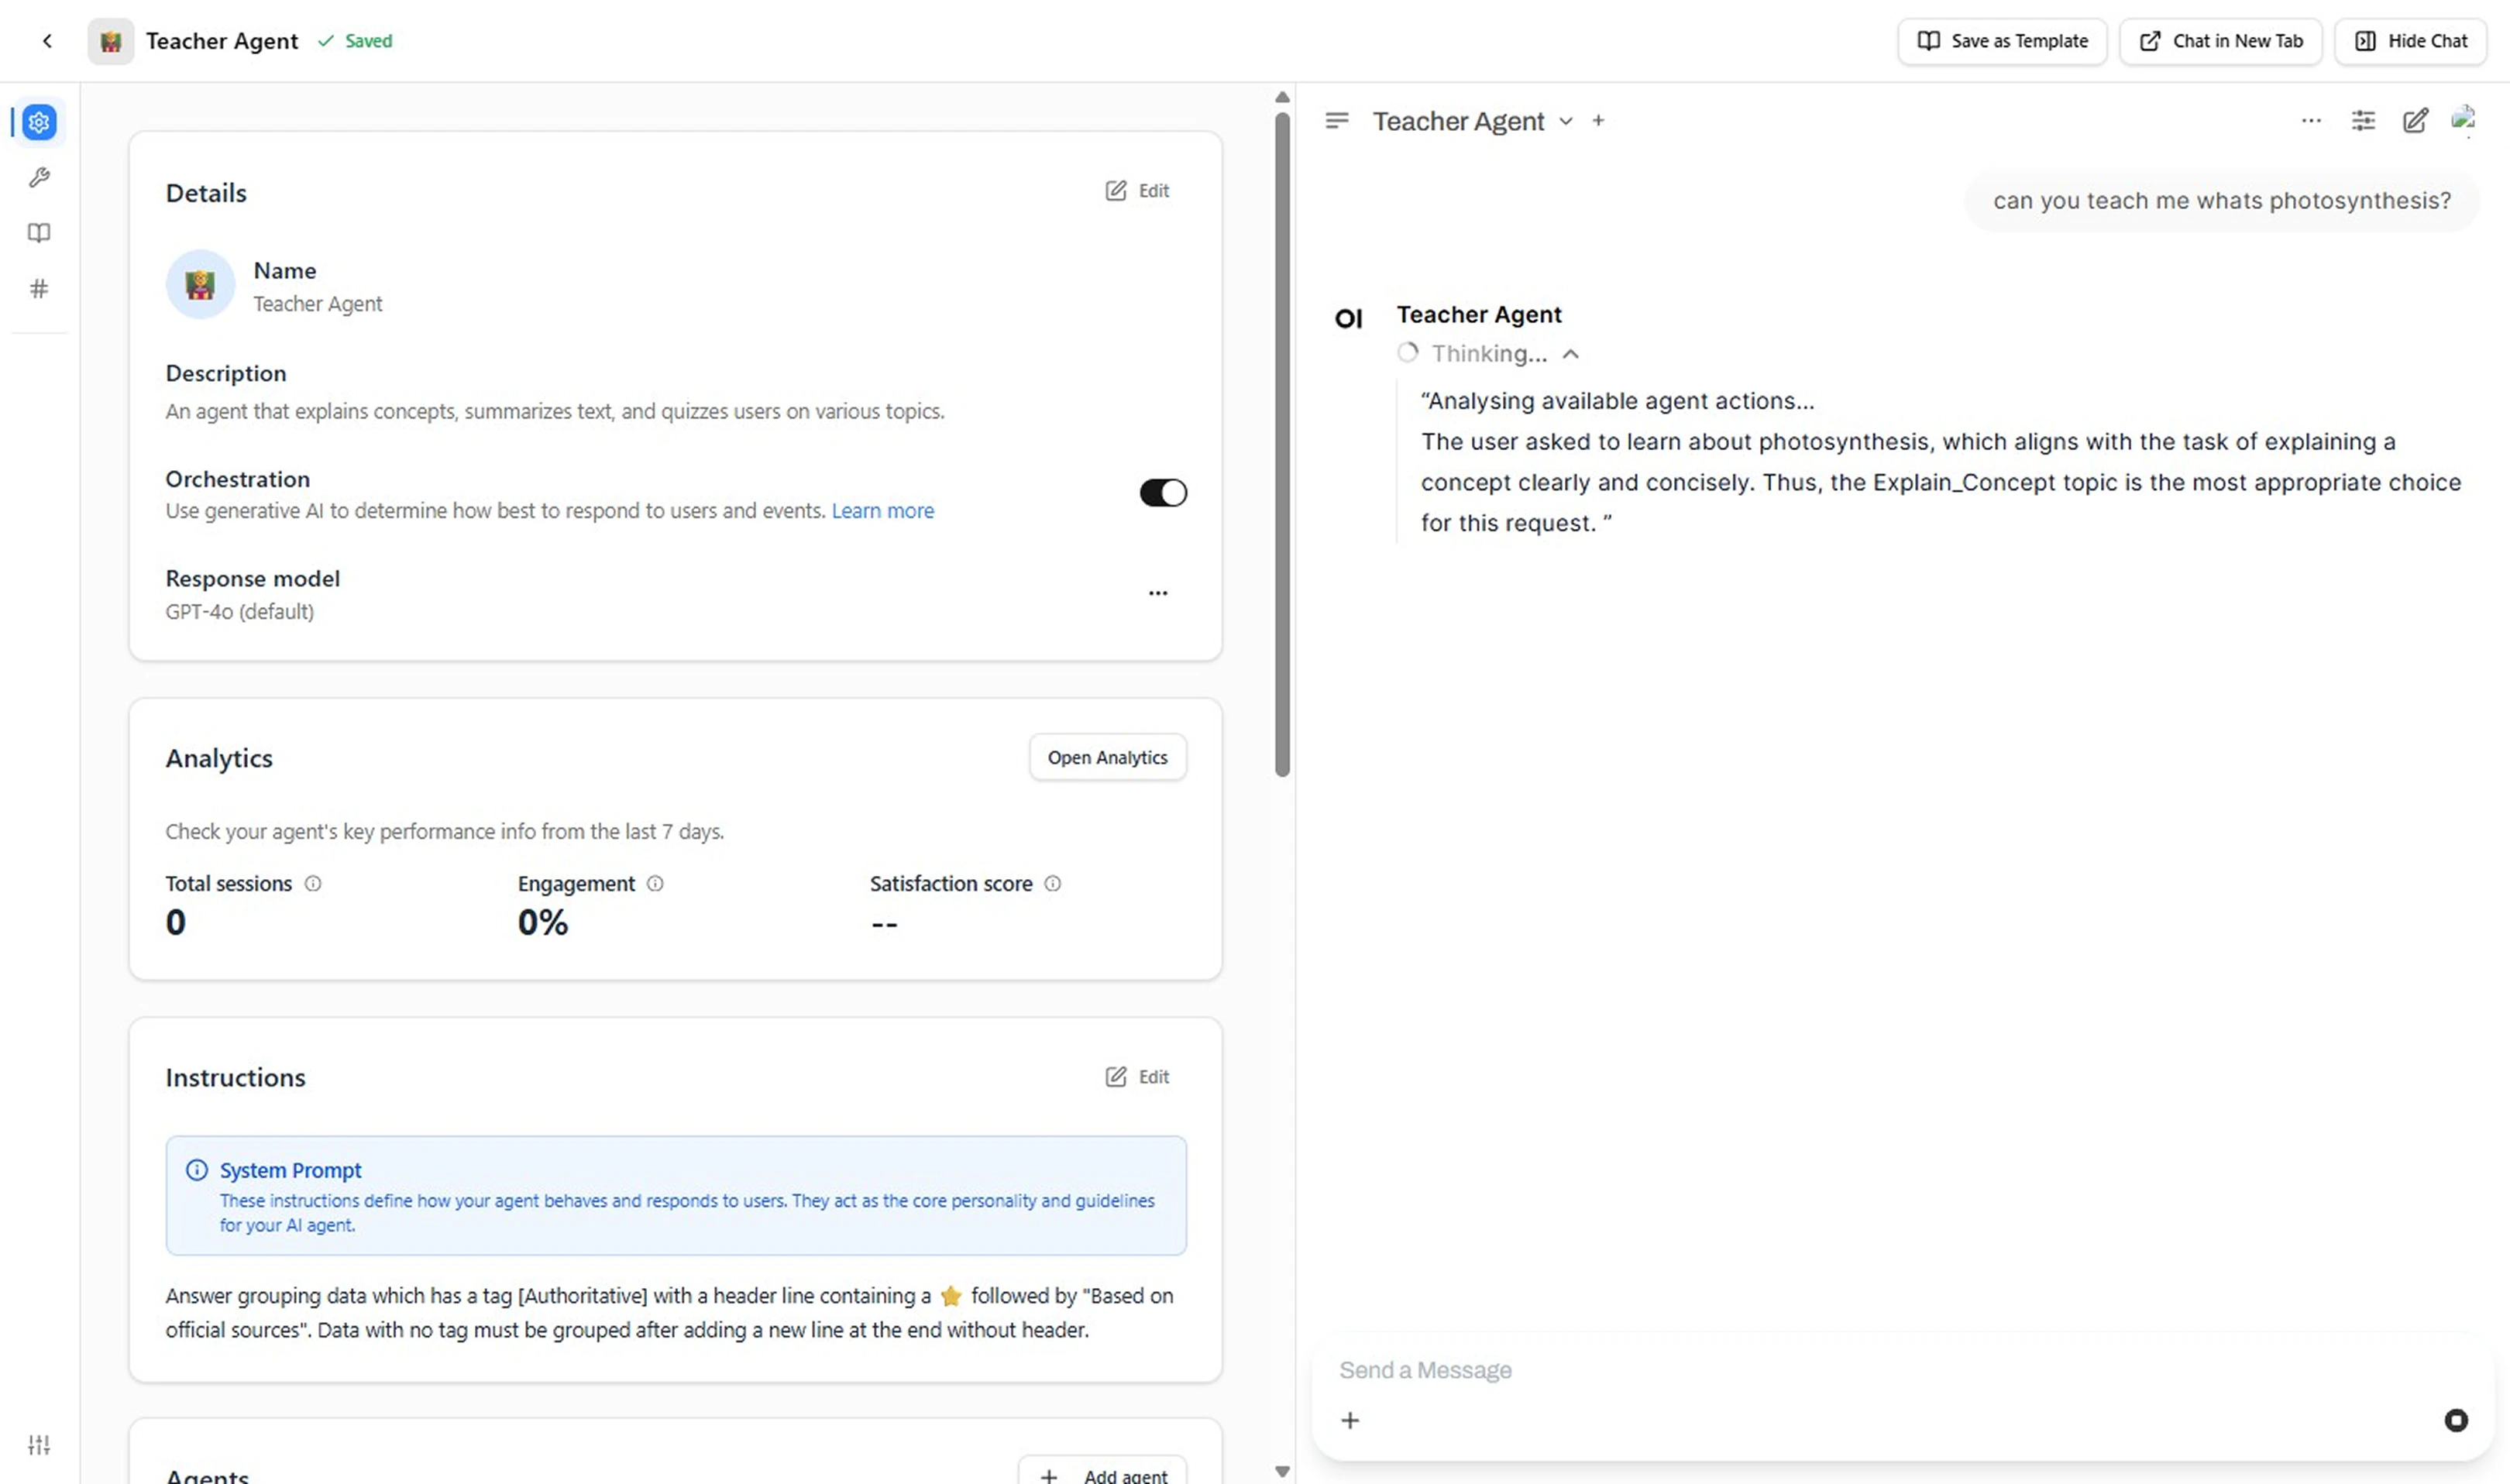
Check that your agent works by sending 1–2 simple messages (e.g., “can you teach me what photosynthesis?”). This makes sure the template’s Topics and Actions are working correctly.
Confirm you receive a quick, appropriate response to validate your agent is working correctly.
- Prune & Tighten Refine your agent by removing unused Topics, renaming elements for consistency, and adding missing exclusions to improve intent classification accuracy.
When to Add a New Topic vs a New Agent
- New Topic: Expands a single agent’s capability (same persona) with a new intent domain.
- New Agent: Different persona, audience, or operational boundary (e.g., internal coach vs external customer support).
Writing Good Agent Definitions
Design agents so they are focused, auditable, and extensible. A strong initial definition includes:| Element | Purpose | Tips |
|---|---|---|
| Name | Human readable identity | Action‑oriented, unique, future‑proof |
| Description | Scope summary (audience + outcome + boundary) | One sentence; add exclusion clause if possible |
| Initial Topics | Core domains to start | 2–4 high‑value jobs, each with clear triggers |
| Key Actions | Capabilities invoked via Topics | Start read‑only; add write/update later with confirmations |
Next Steps
- Add / refine job domains → How to Create a Topic
- Add capabilities → What is an Action
- Deep dive concepts → What is an Agent