Documentation Index
Fetch the complete documentation index at: https://docs.benchgen.com/llms.txt
Use this file to discover all available pages before exploring further.
How to Connect Custom Coder Agent
This guide shows you how to connect and use your custom coder agent from UBOS Agentspace directly in VS Code using the Cline extension. This integration allows you to leverage your custom AI agent for coding assistance, debugging, and development tasks directly in your IDE.Overview
The Custom Coder Agent integration enables you to:- Access your UBOS Agentspace custom agents directly from VS Code
- Use specialized coding agents with custom knowledge and capabilities
- Leverage your agent’s custom actions and topics for development tasks
- Maintain context and conversation history across coding sessions
PrerequisitesBefore you begin, ensure you have:
- An active UBOS Agentspace account
- A custom coder agent created in your Agentspace (see How to Create an Agent)
- VS Code installed on your system
- The Cline extension installed in VS Code
Step 1: Access Your Custom Agent in Agentspace
-
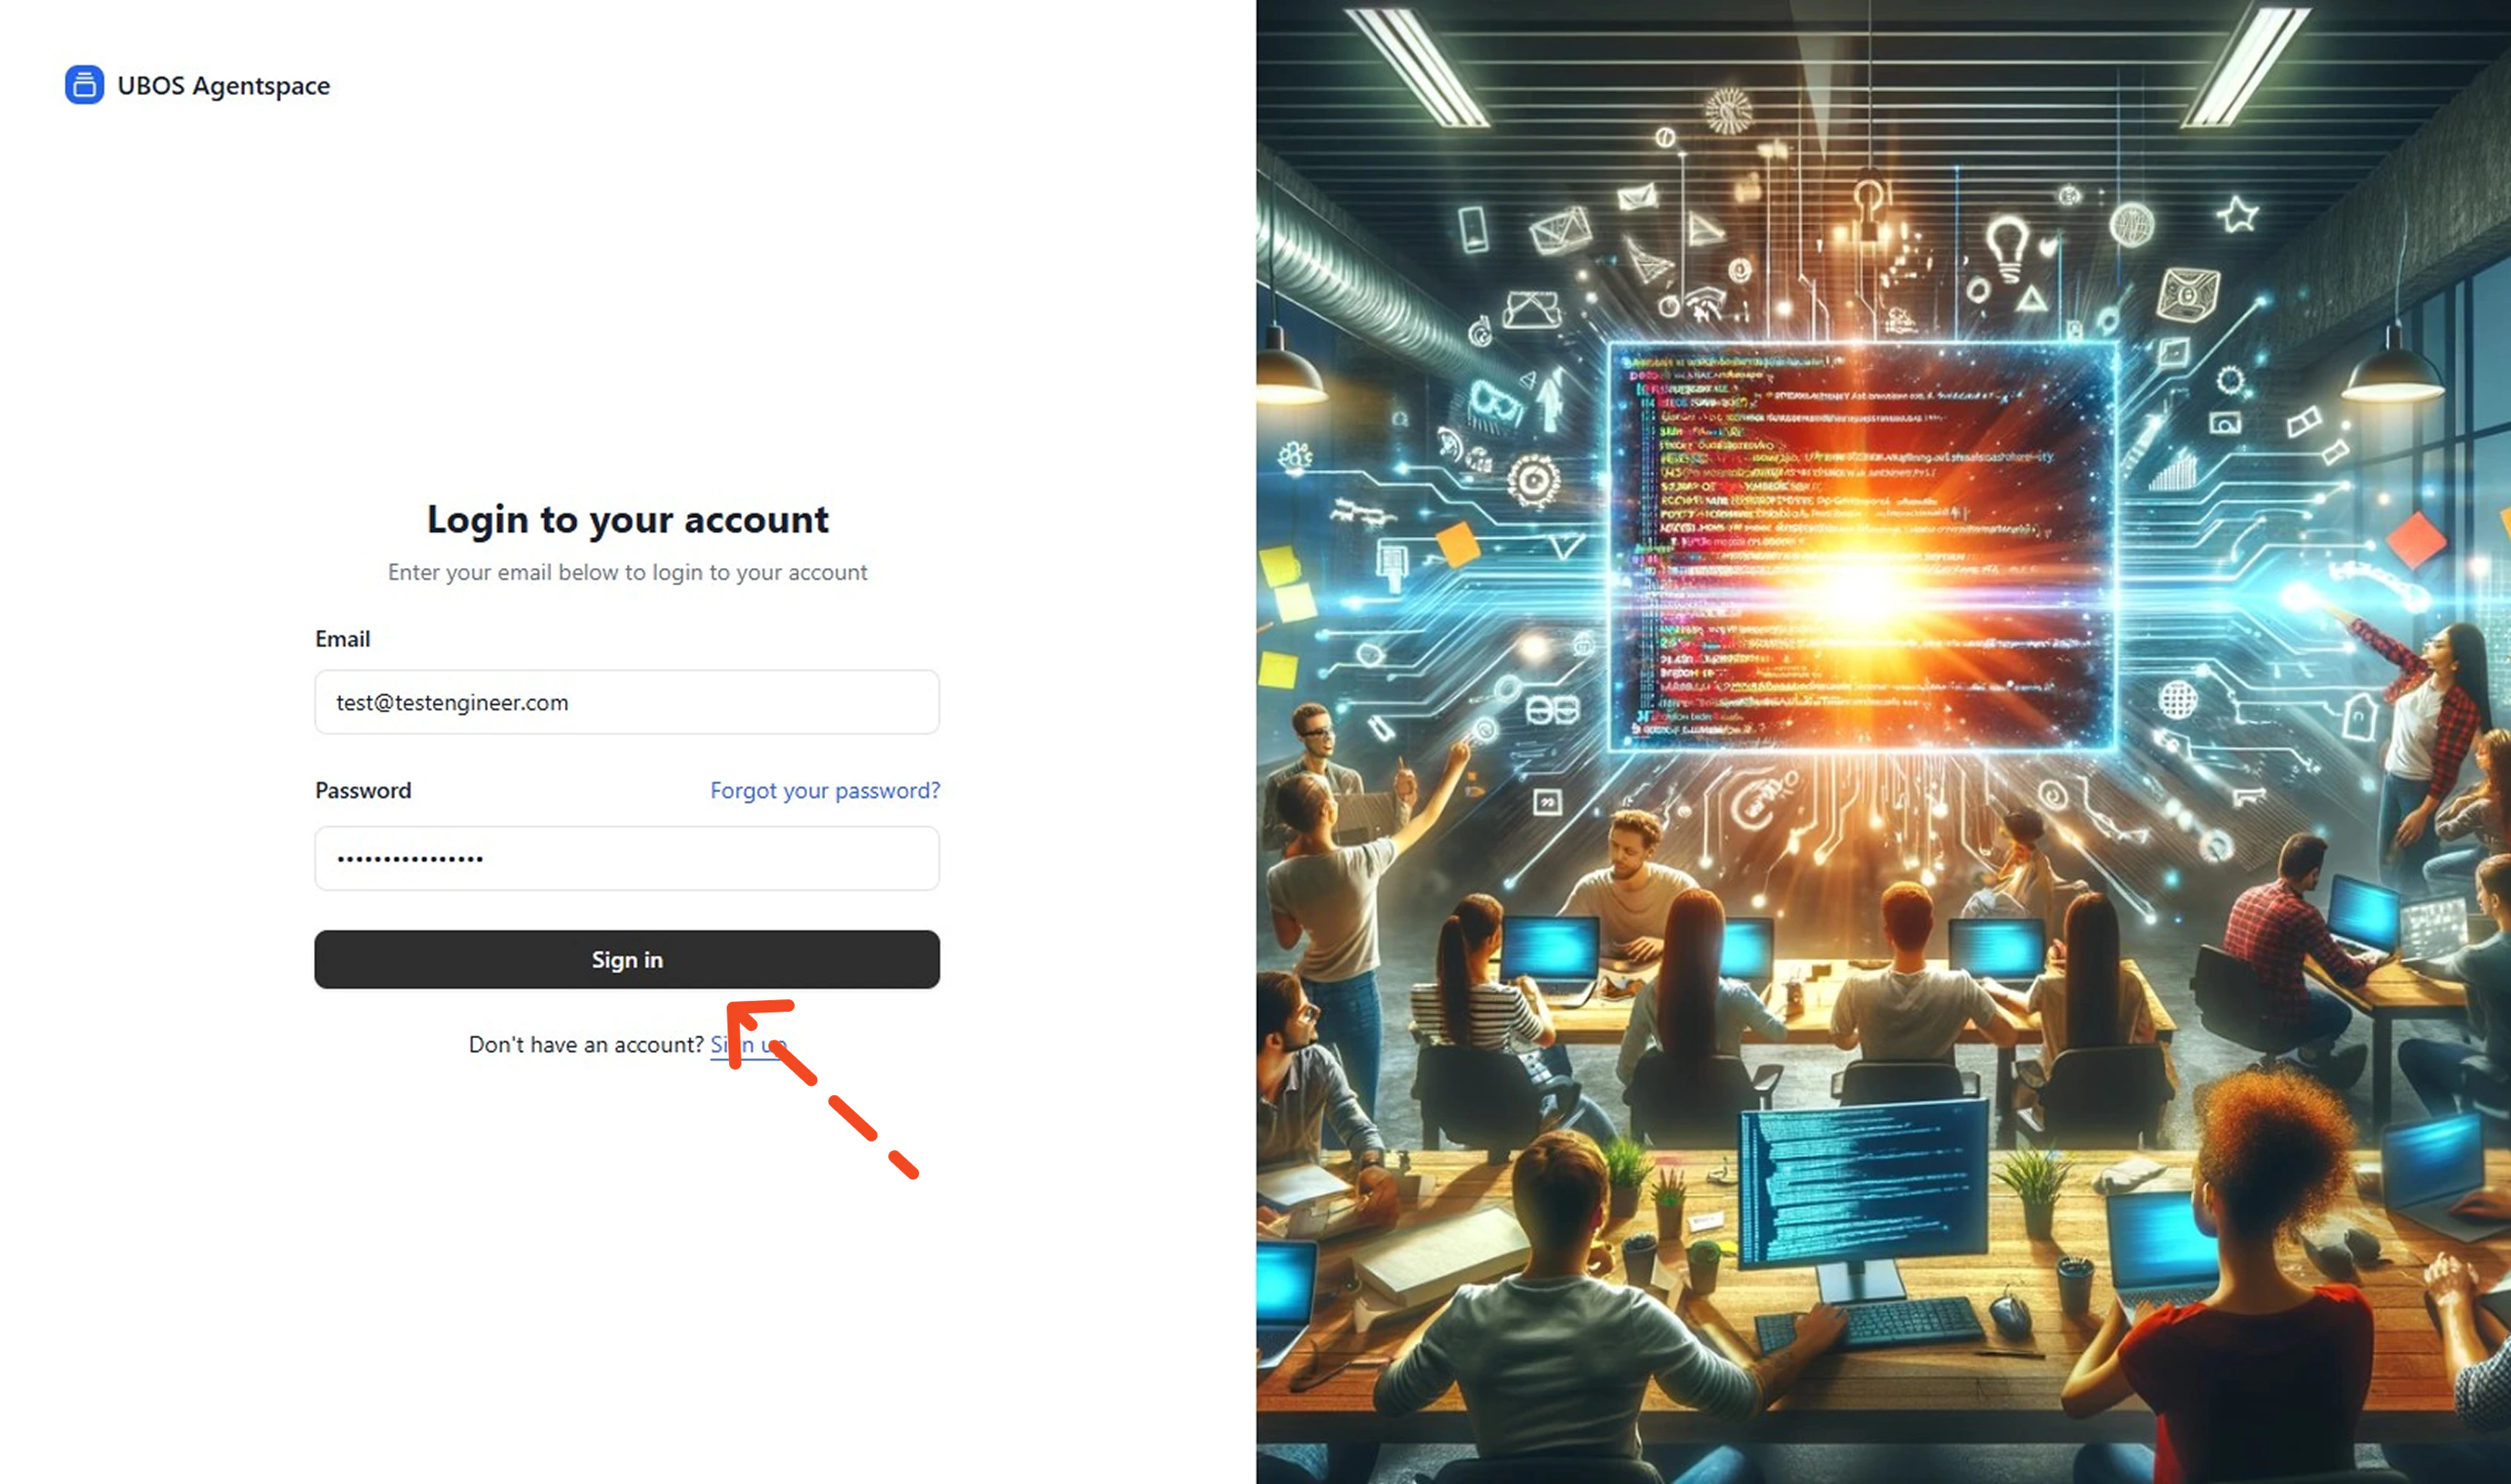
Sign in to UBOS Agentspace
Sign in to your UBOS Agentspace platform using your credentials.
-
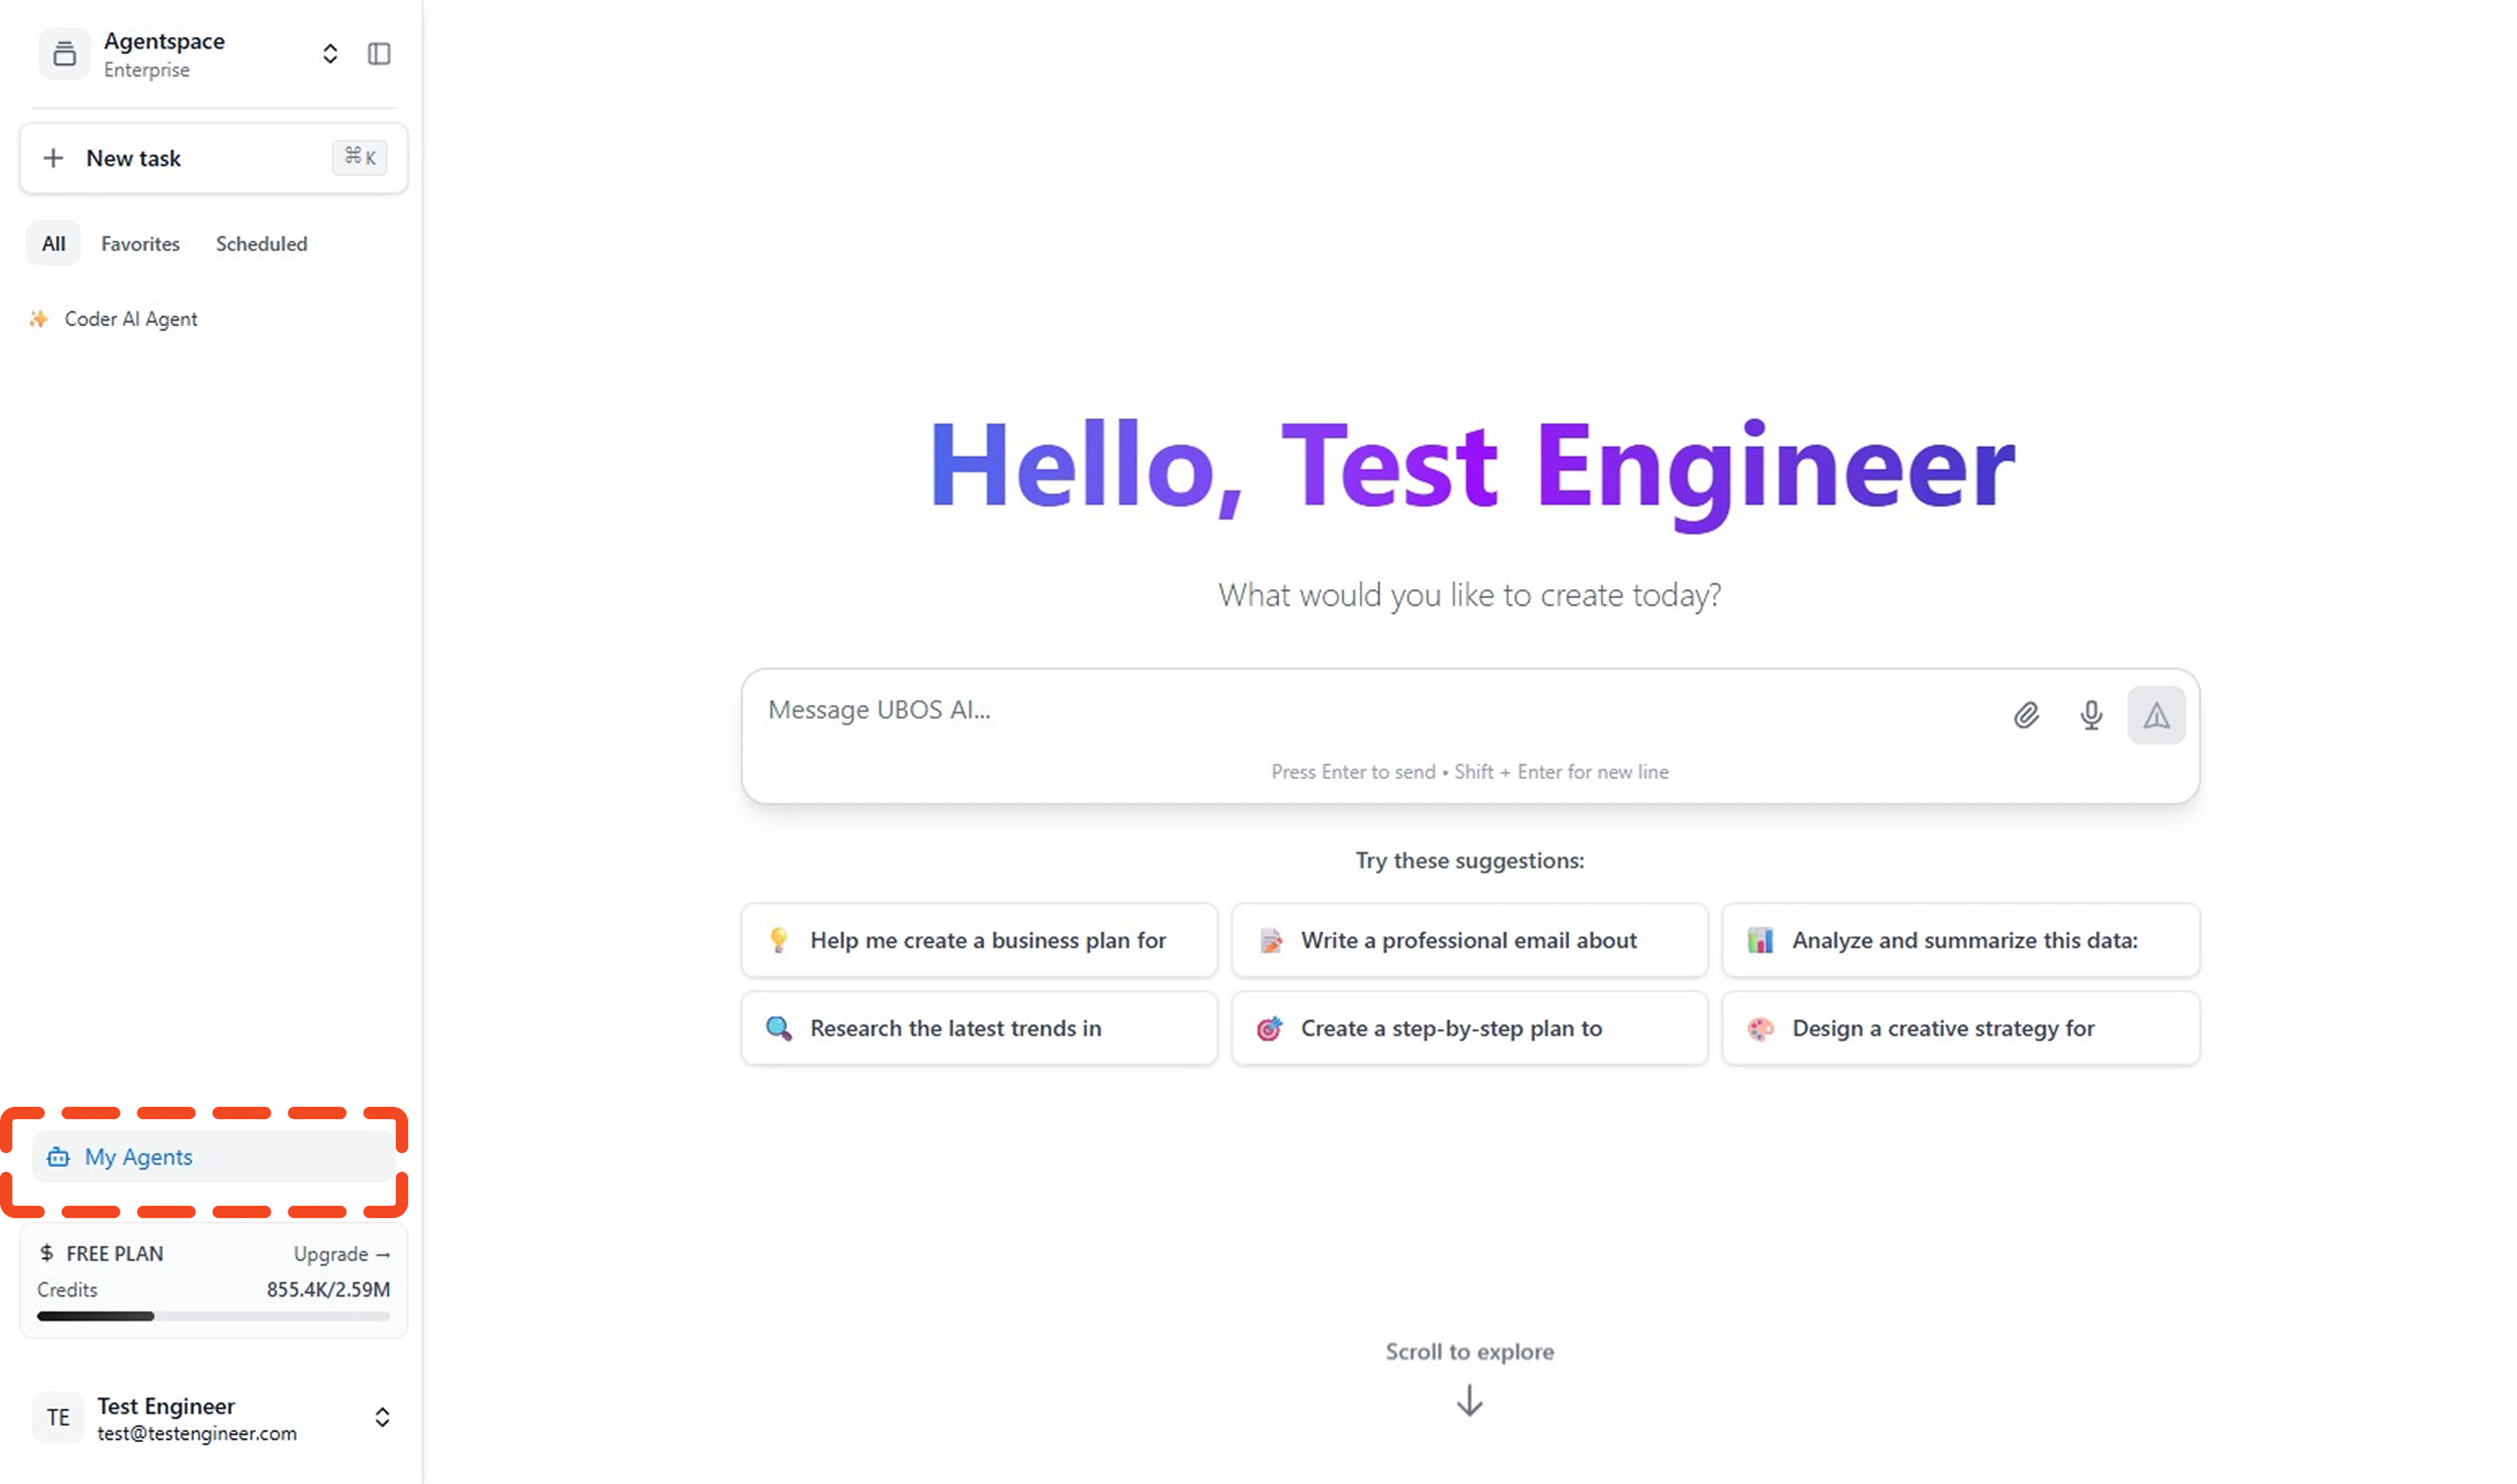
Navigate to My Agents
Click on My Agents from the left sidebar to view all your available agents.
-
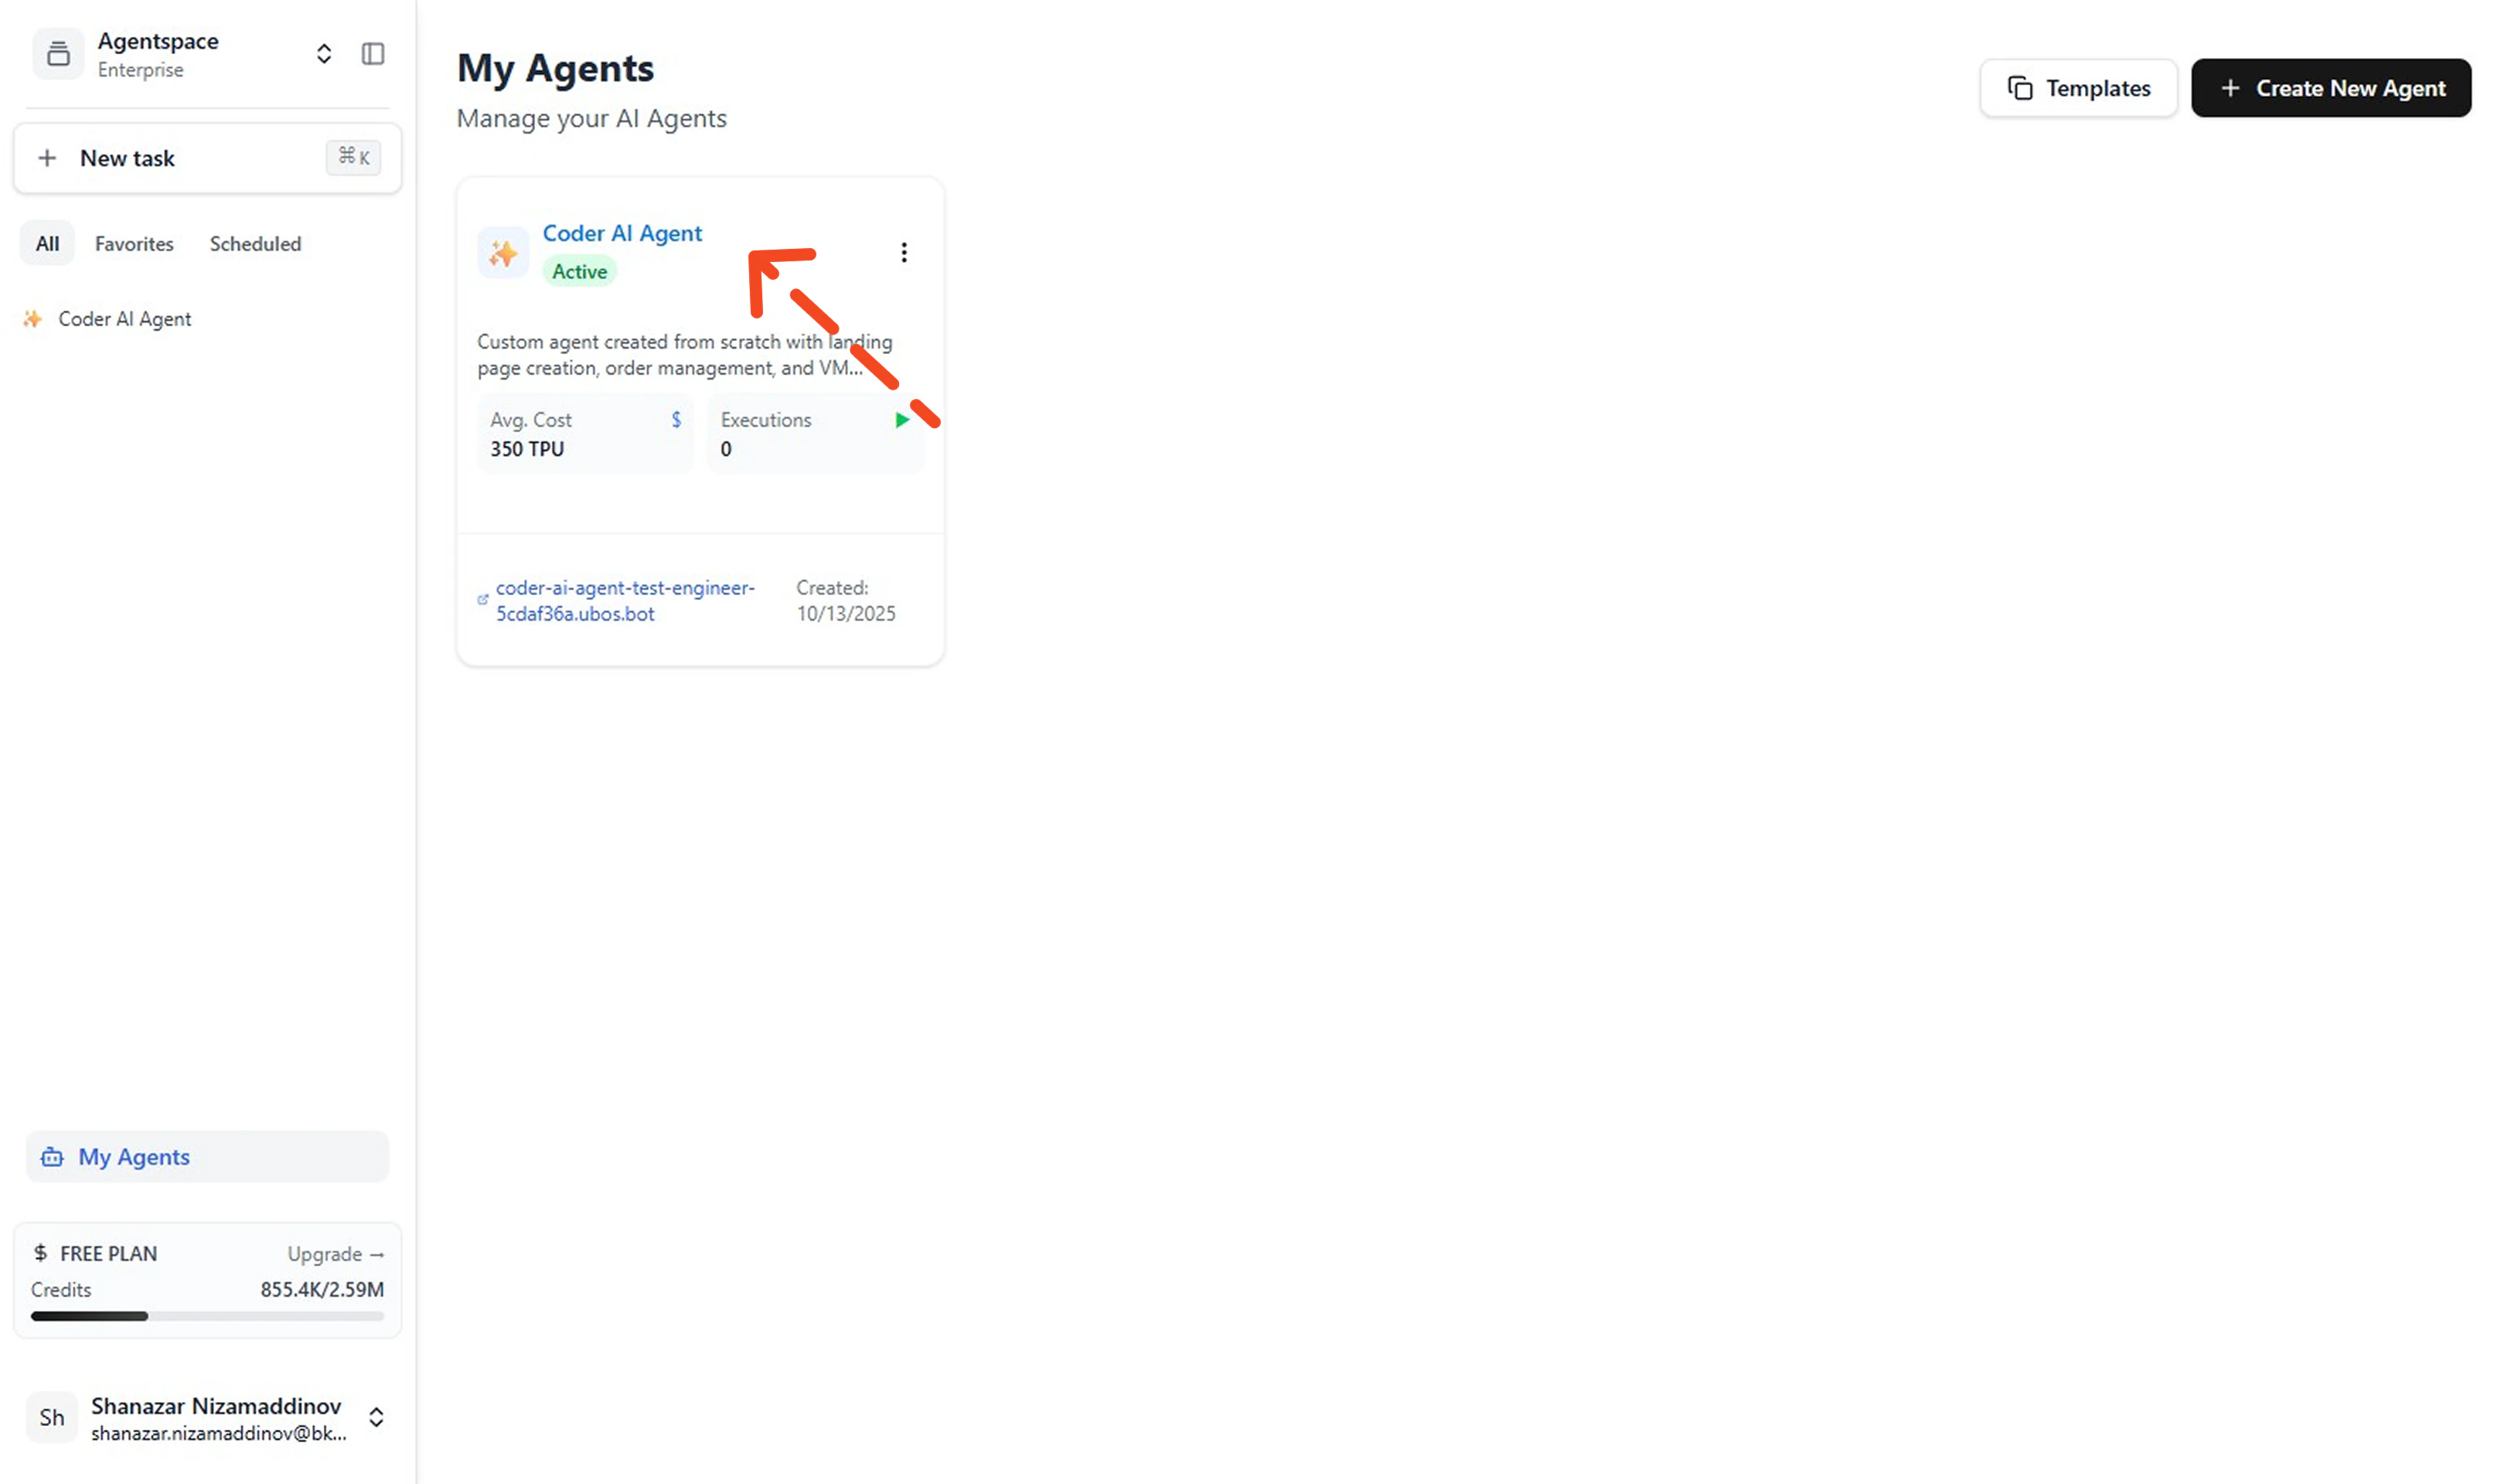
Locate Your Coder Agent
Find your custom coder agent in the agents list.
-
Access Agent Advanced Settings
Click on your agent to open its details page, then navigate to the Advanced tab in the left sidebar.
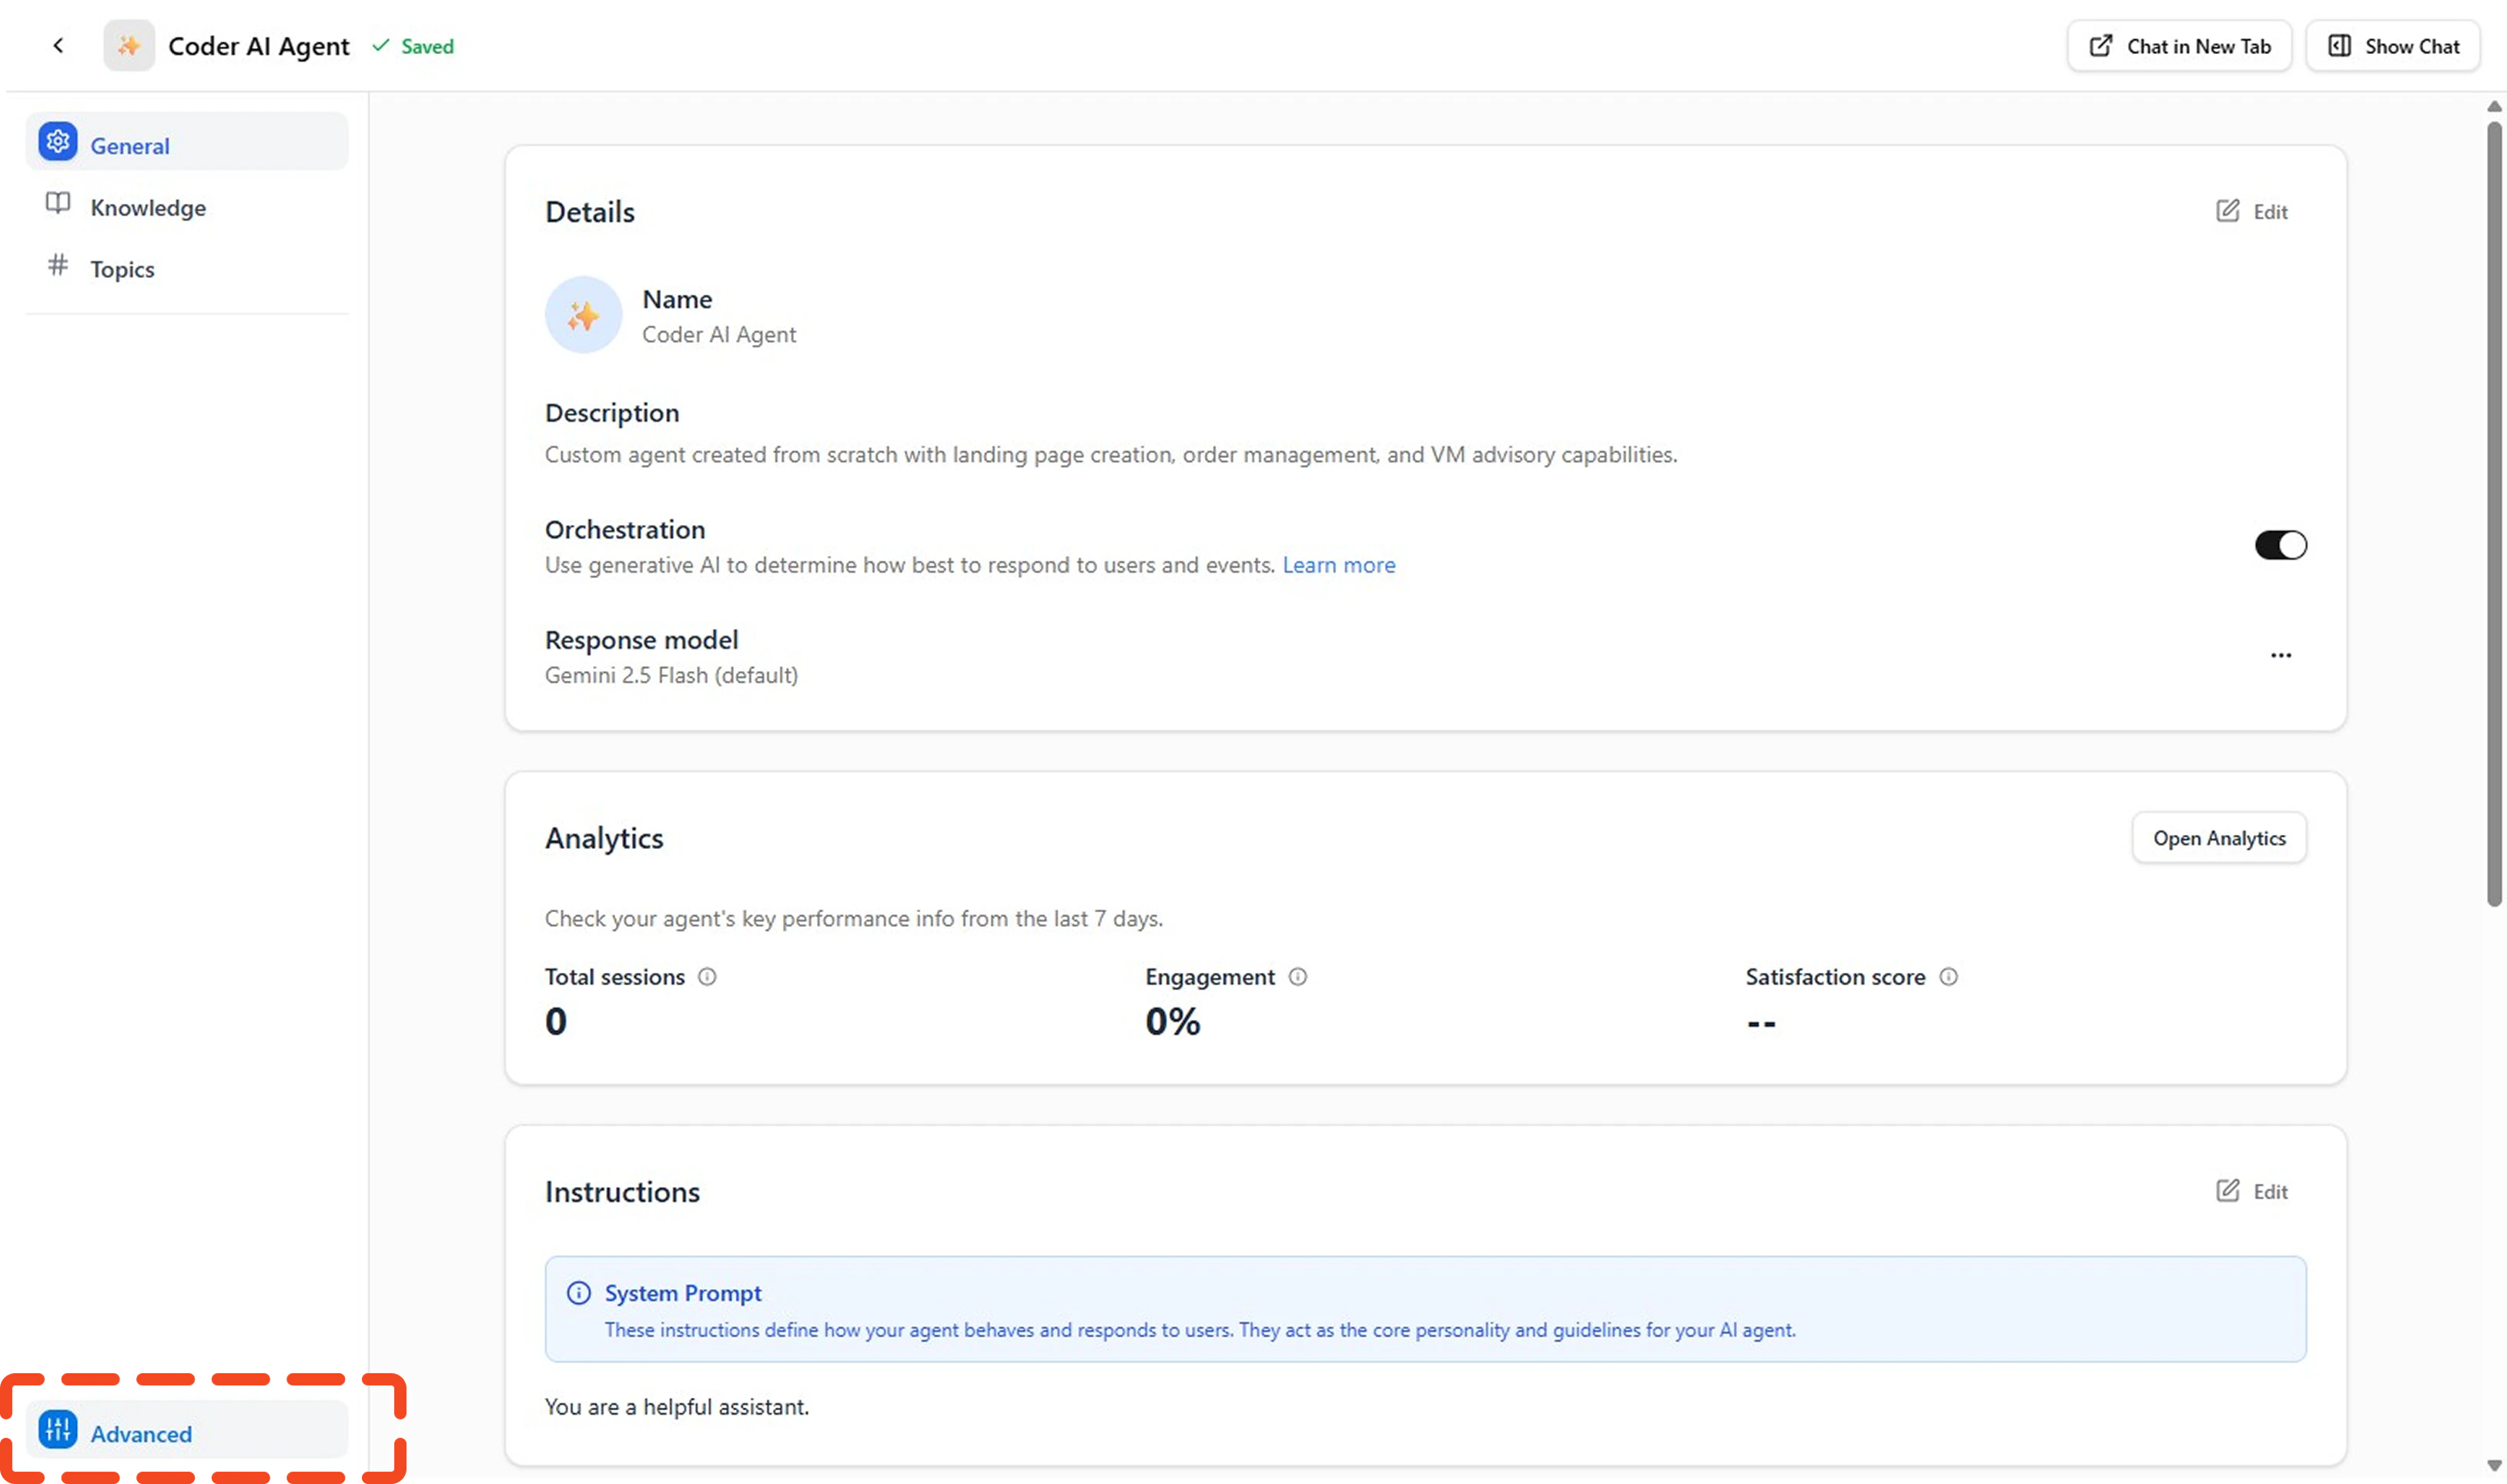
Step 2: Configure Custom LLM Model
In the Advanced settings, you’ll see the Custom LLM Model Management section with important connection details: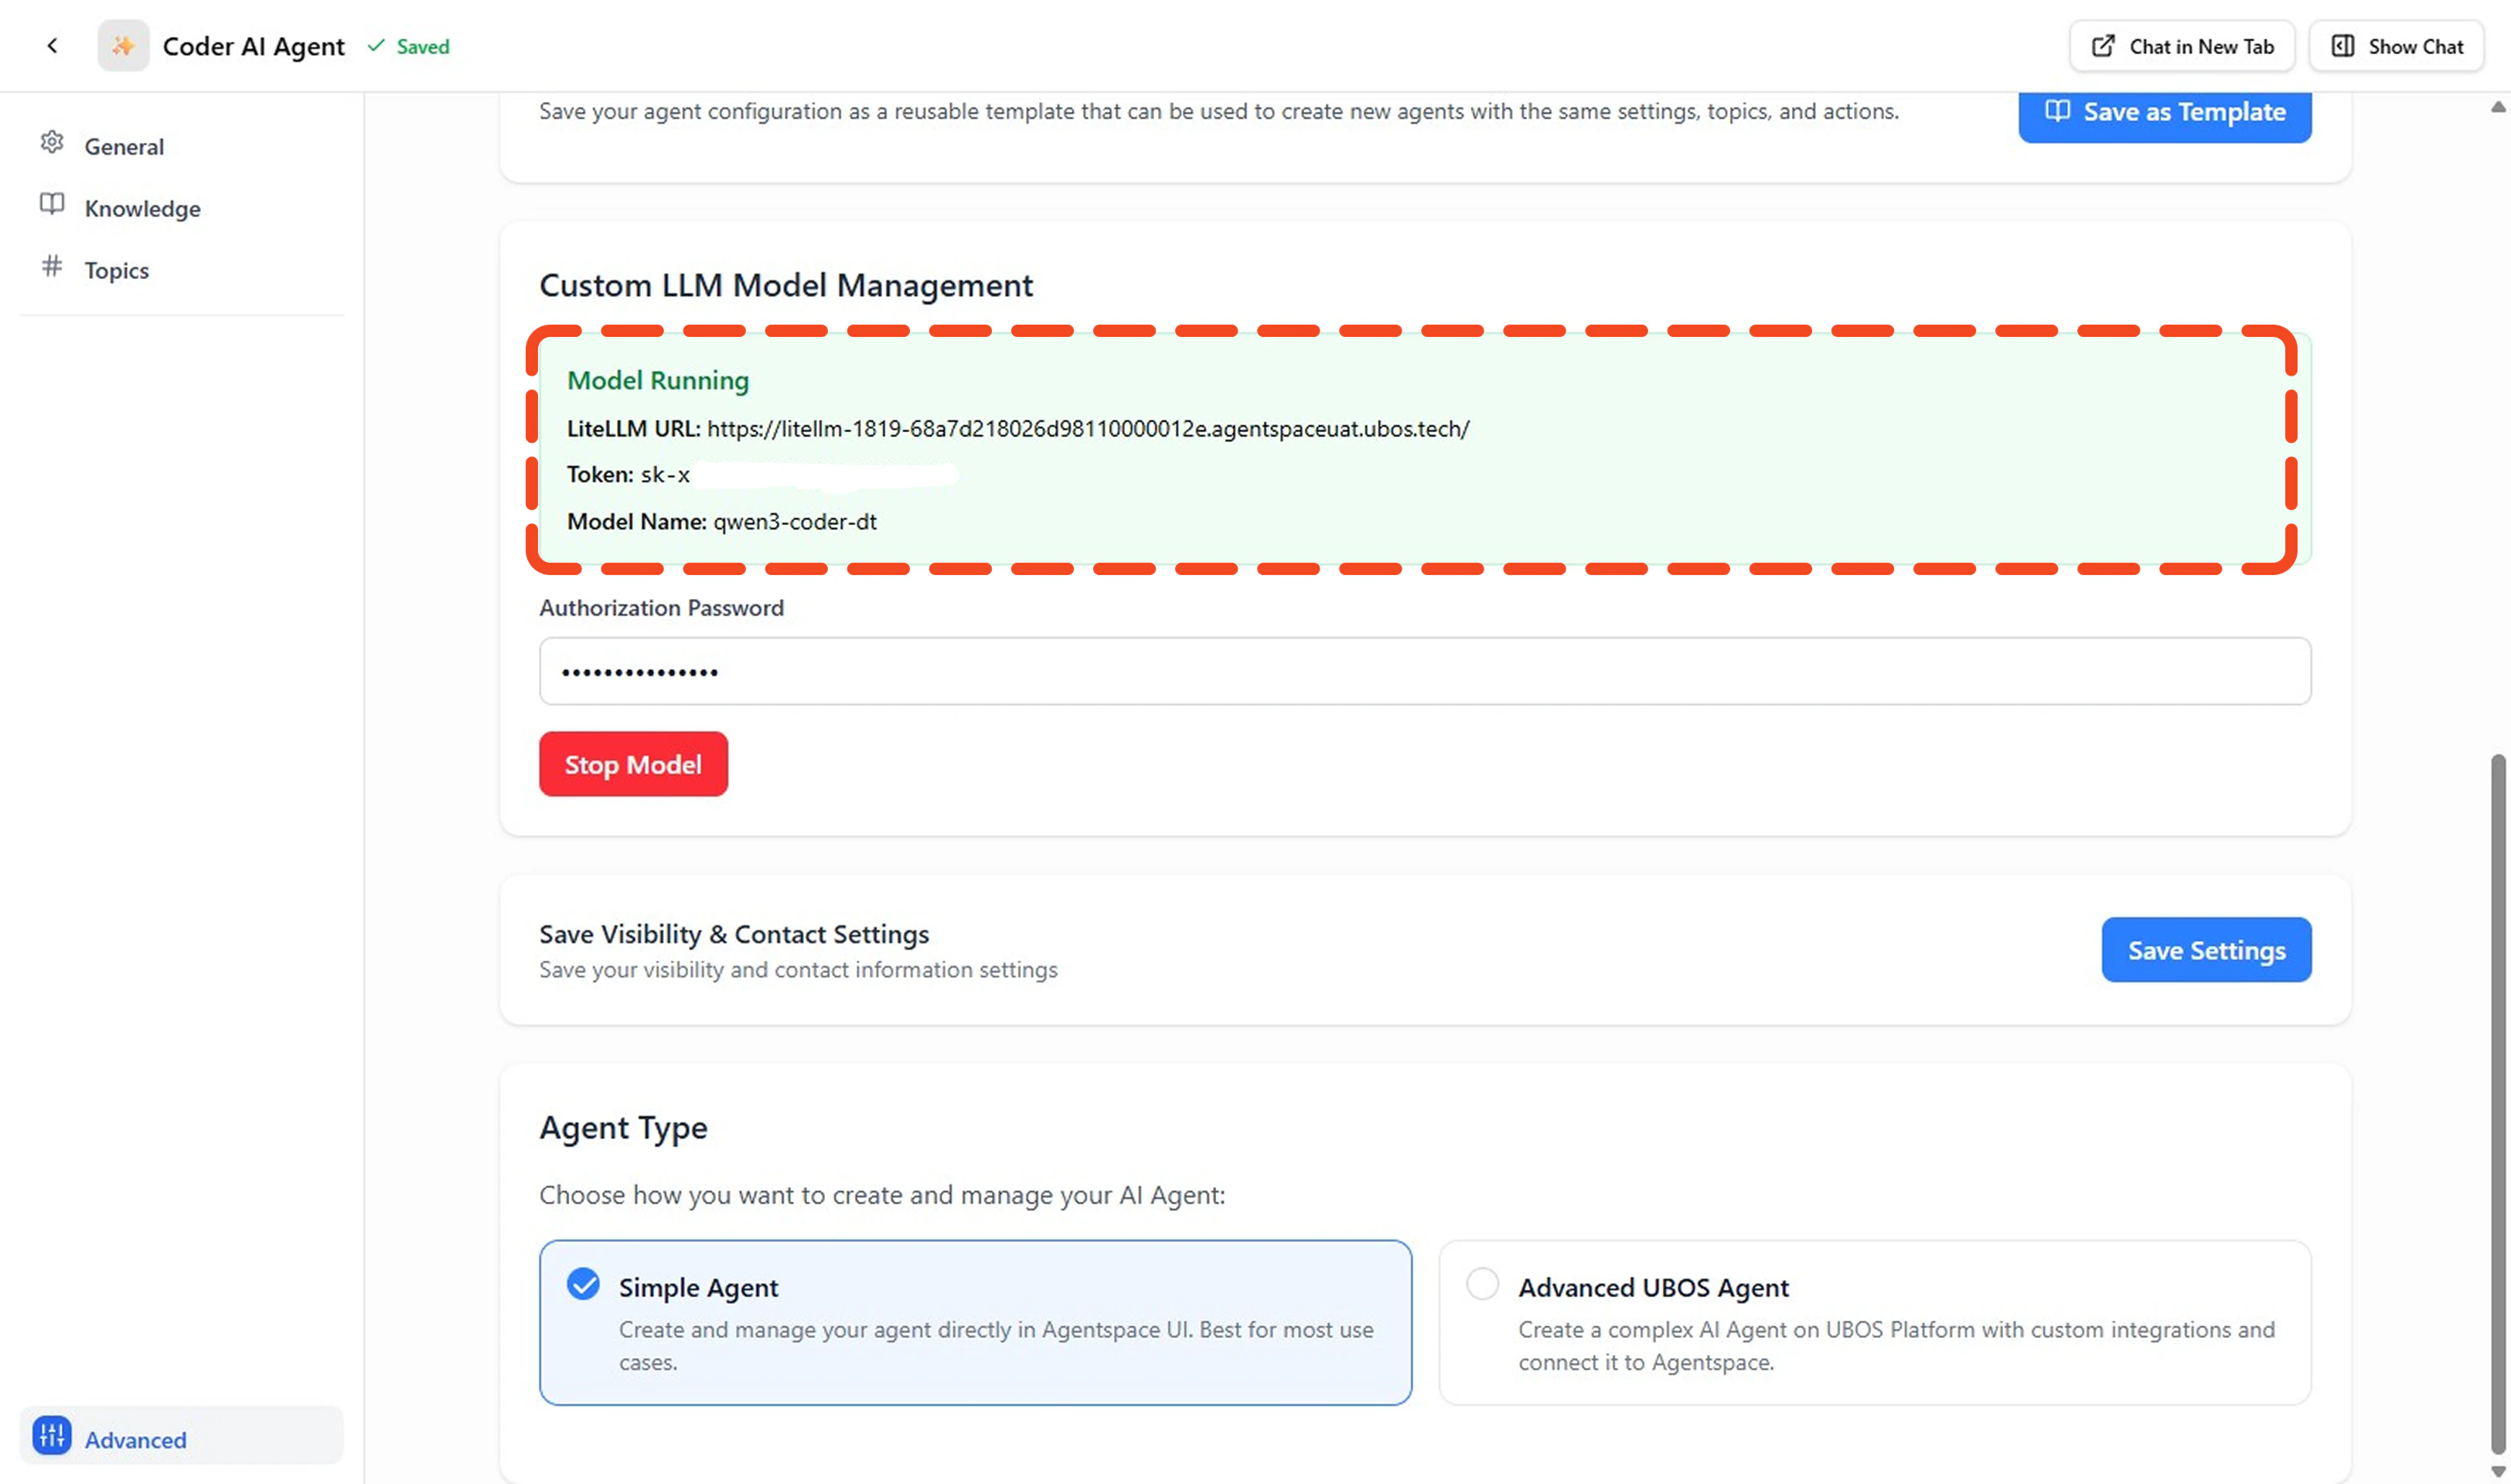
- Model Running Status: Indicates if your model is active
- LiteLLM URL: The endpoint URL for your agent (e.g.,
https://litellm-1819-....agentspaceuat.ubos.tech/) - Token: Your authentication token (displayed as
sk-x) - Model Name: Your agent’s identifier (e.g.,
qwen3-coder-dt)
Step 3: Install and Configure Cline Extension
Install Cline Extension
- Launch VS Code and click on the Extensions icon in the left sidebar (or press
Ctrl+Shift+X). - In the extensions marketplace, search for Cline and install the extension.
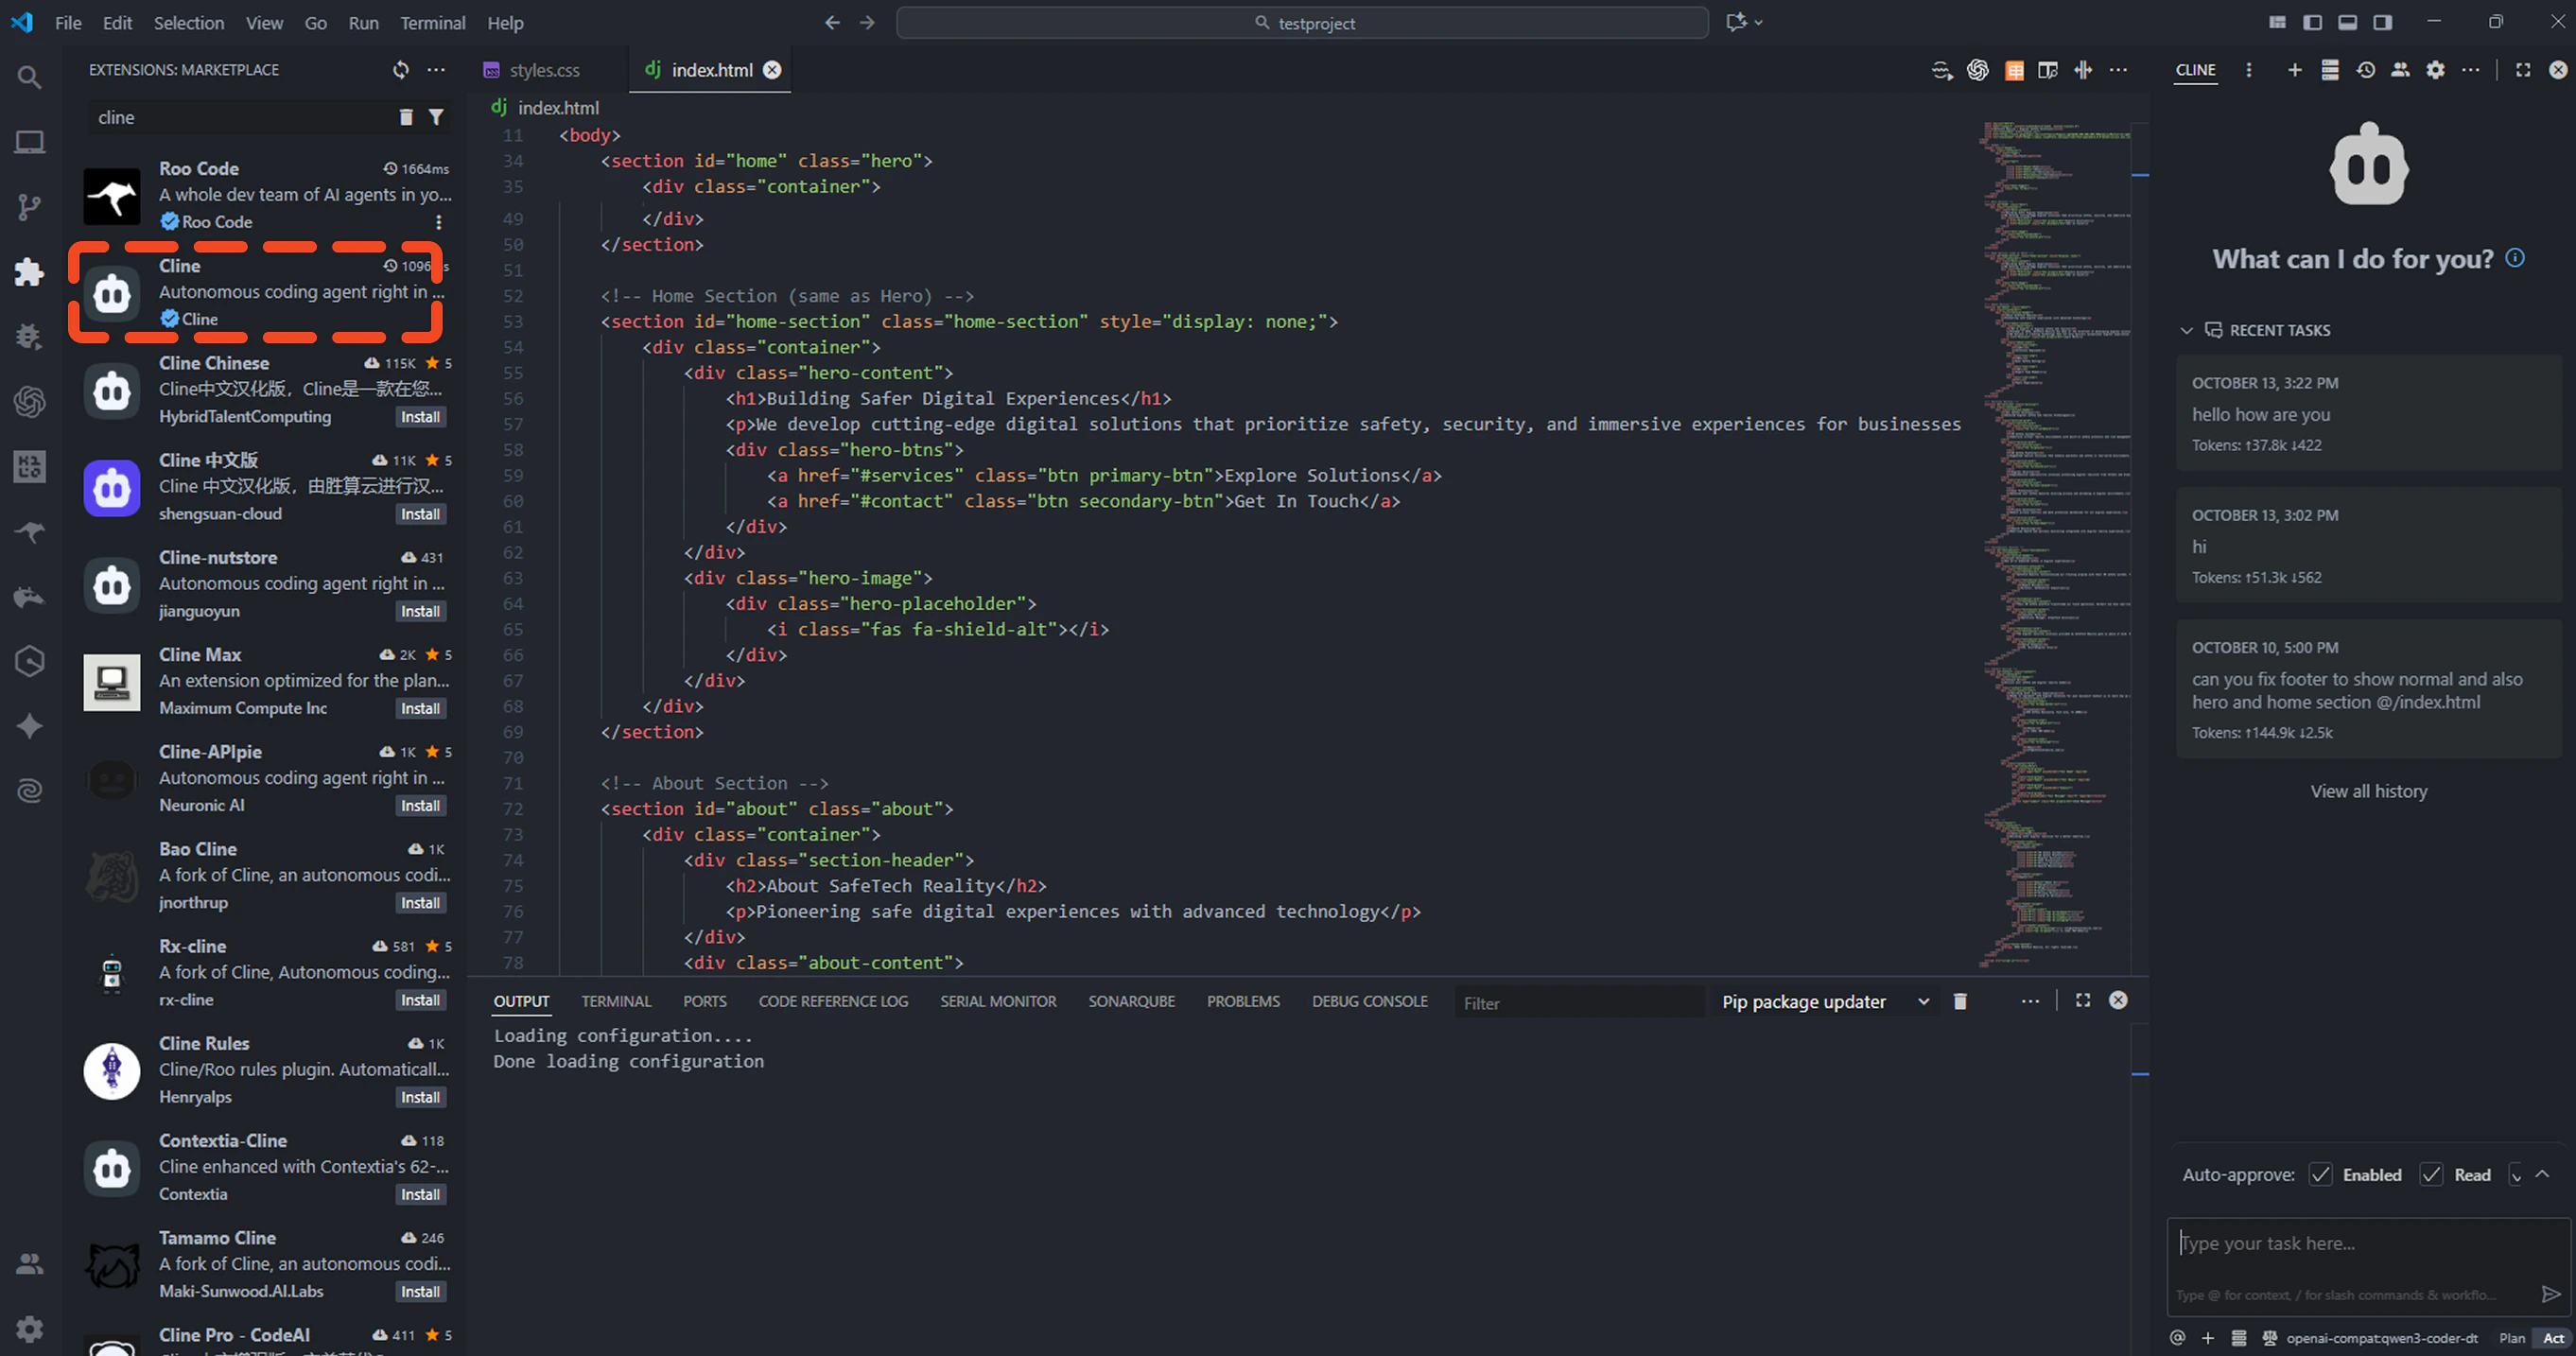
- After installation, you should see the Cline icon in your VS Code sidebar.
Configure Cline with Your Custom Agent
- Click on the Cline extension icon, then click on the settings/configuration button.
- Select OpenAI Compatible API Key as your provider type.
-
Fill in the following information from your Agentspace Advanced settings:

Field Value Example Base URL Your LiteLLM URL from Agentspace https://litellm-1819-....agentspaceuat.ubos.tech/API Key Your token from Agentspace sk-x(use your actual token)Model ID Your model name qwen3-coder-dtContext Window Size Set according to your model 65000(for qwen3-coder-dt) - Optionally adjust Temperature (controls response creativity, 0.0–1.0) and Max Output Tokens.
Step 4: Test Your Connection
- Start a New Chat Open Cline and start a new conversation to test the connection.
-
Send a Test Message
- Verify Response Your custom agent should respond according to its configured personality and capabilities.
Test Agent Capabilities
Try these example queries to test different capabilities: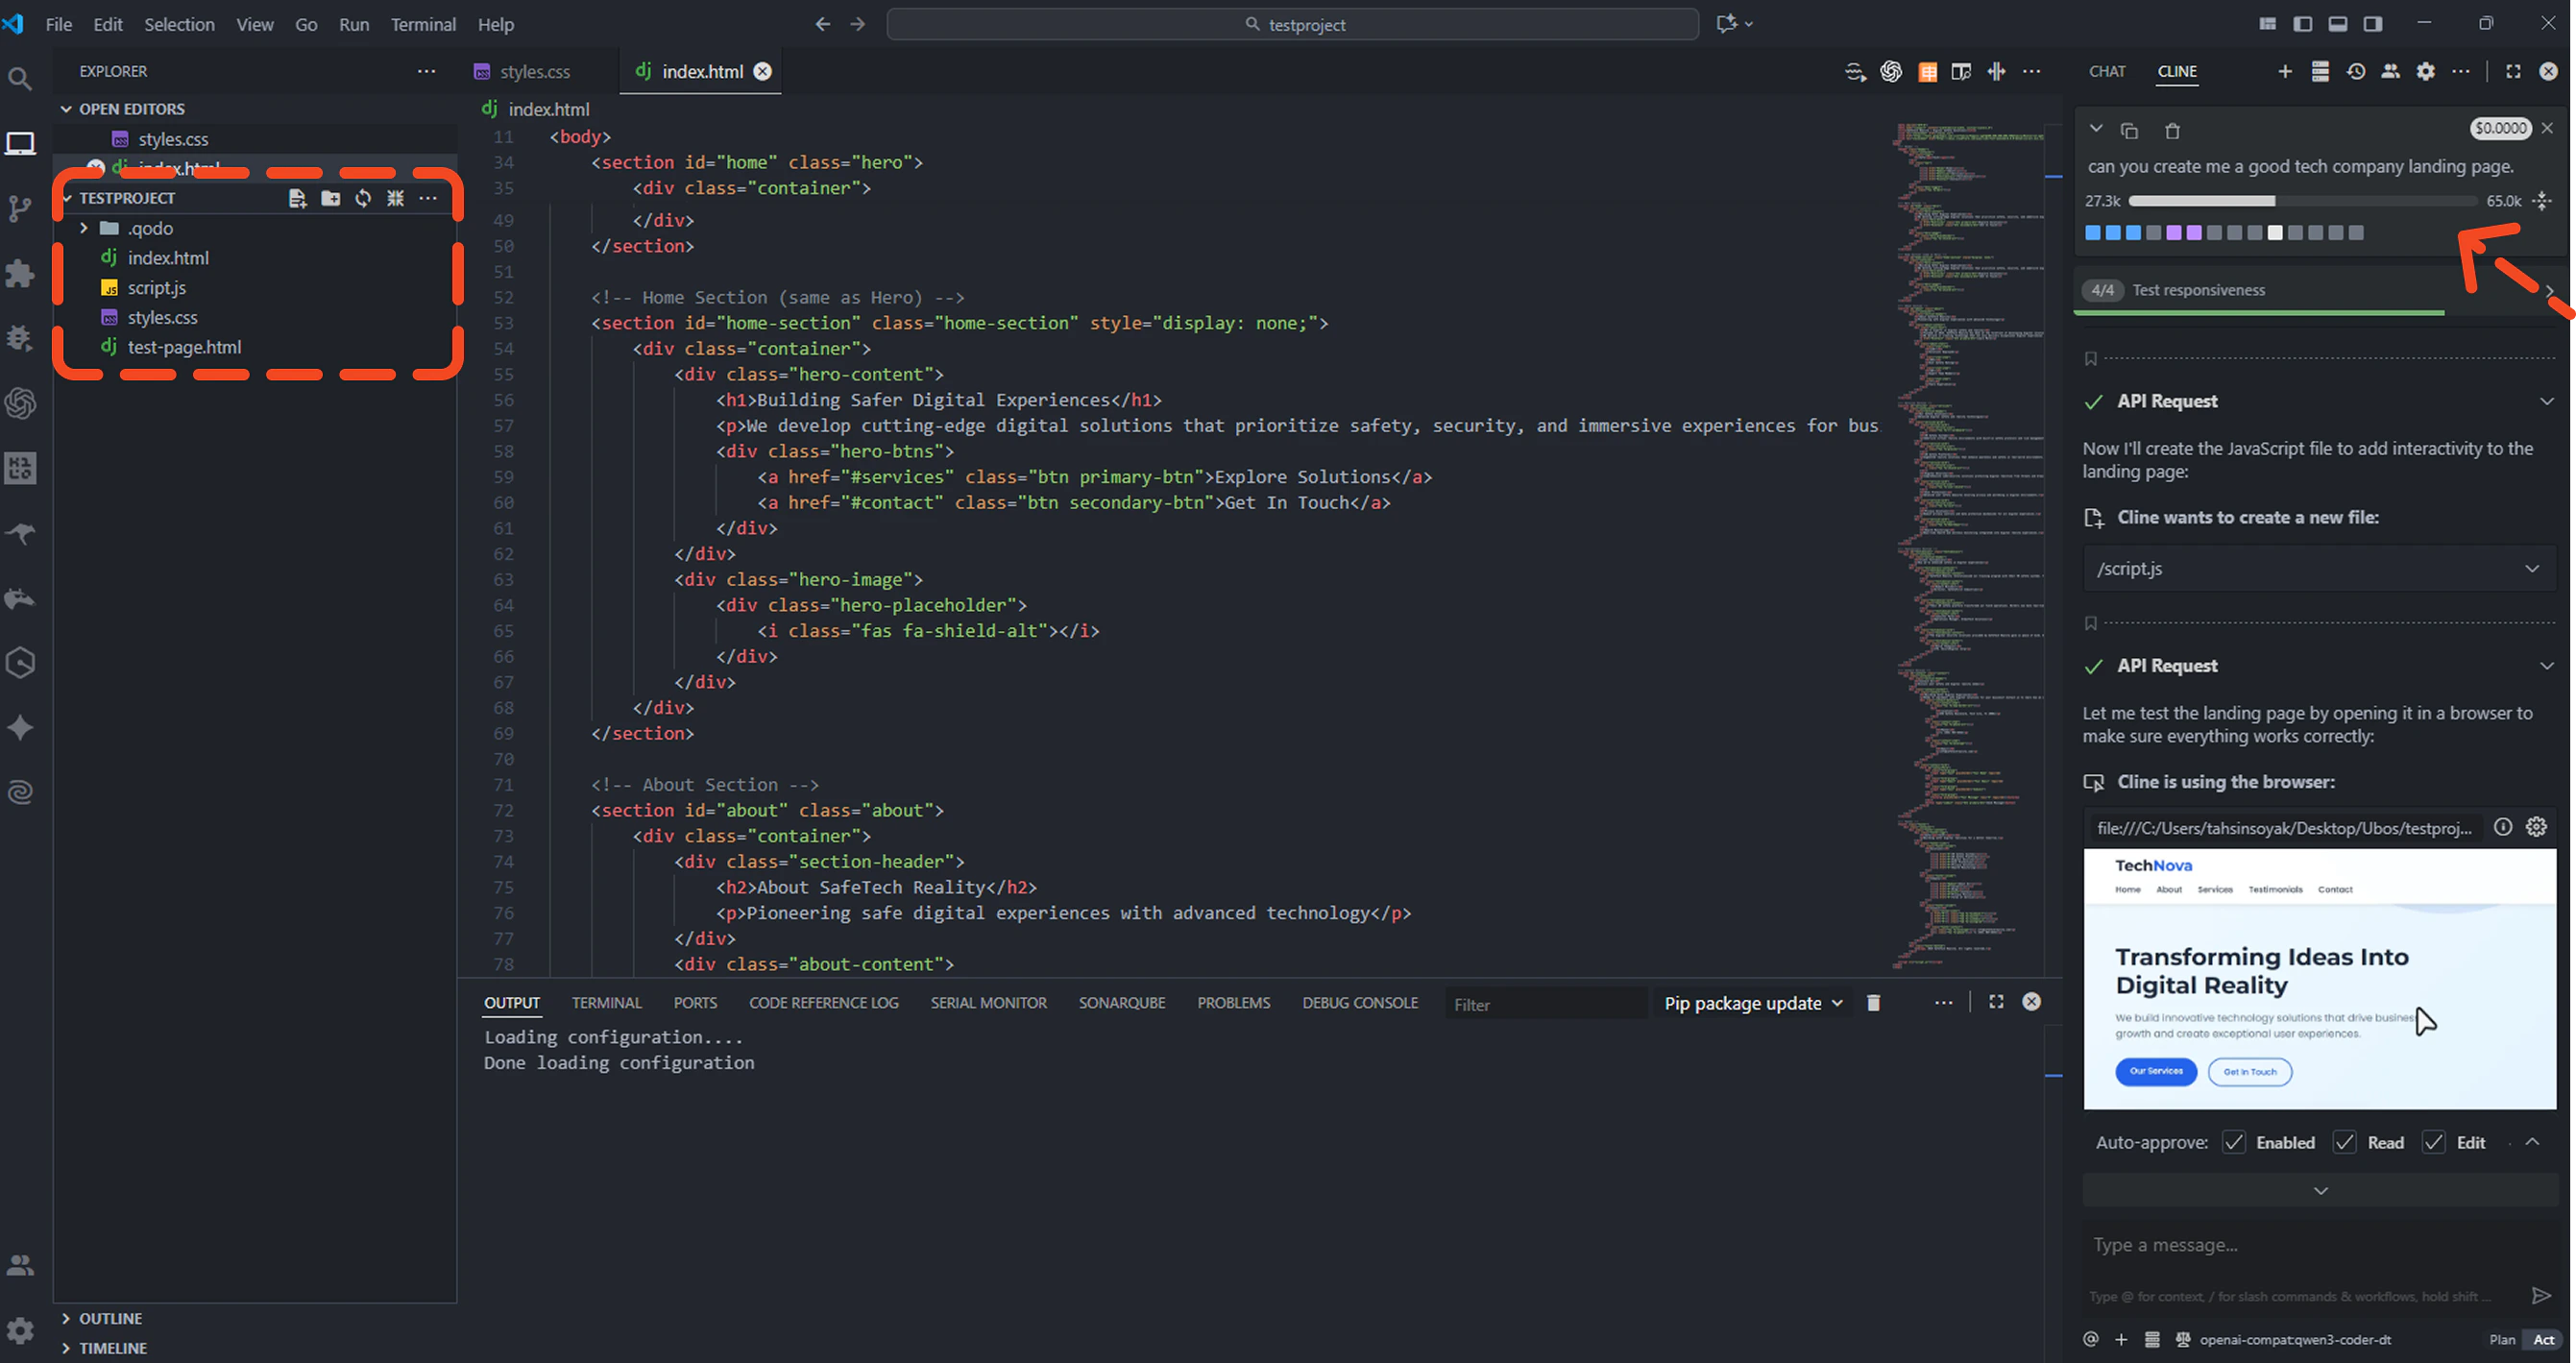
Troubleshooting
| Issue | Possible Cause | Solution |
|---|---|---|
| Connection & Auth Failed | Incorrect URL or token | Verify your LiteLLM URL and token in Agentspace Advanced settings |
| Model Not Responding | Agent is stopped | Check that your agent status shows “Running” in Agentspace |
| Slow Responses | Network or model load | Check your internet connection and agent status |
| Unexpected Responses | Wrong model configuration | Verify the model ID matches your agent name |
- Check that your agent is running in Agentspace
- Double-check all connection details
- Review VS Code’s output panel for error messages